I made a Woolly Mammoth a while back, and its a serious chunk of bass fuzz. Works astoundingly well on guitar too - fat doesnt even start to describe it (!)
Ive still got the original I made, it looks a bit like this:
Its Mammoth in size too!
One thing that bugged me was the lack of ability to place this anywhere in your signal chain. To sound good, it had to be at the front. So, with the help of
Marks Awesome Layout I have managed to make a 5 knob version, incorporating the Push/Relax control from the Zvex Mastotron (Vexter series). According to the man himself, "This knob introduces source impedance to the signal going into the Mastotron™. When fully up, the signal goes in raw... when turned down, source impedance is added as needed to “soften” the input for active pickups".
Great! Hopefully it also allows you to place it anywhere in your signal chain.
Anyhow, in addition to this additional modification, I didnt bother with the subs switch, but I did challenge myself to squeeze this into a vex size case. This one to be precise (less than £3!) :
RAPID UK
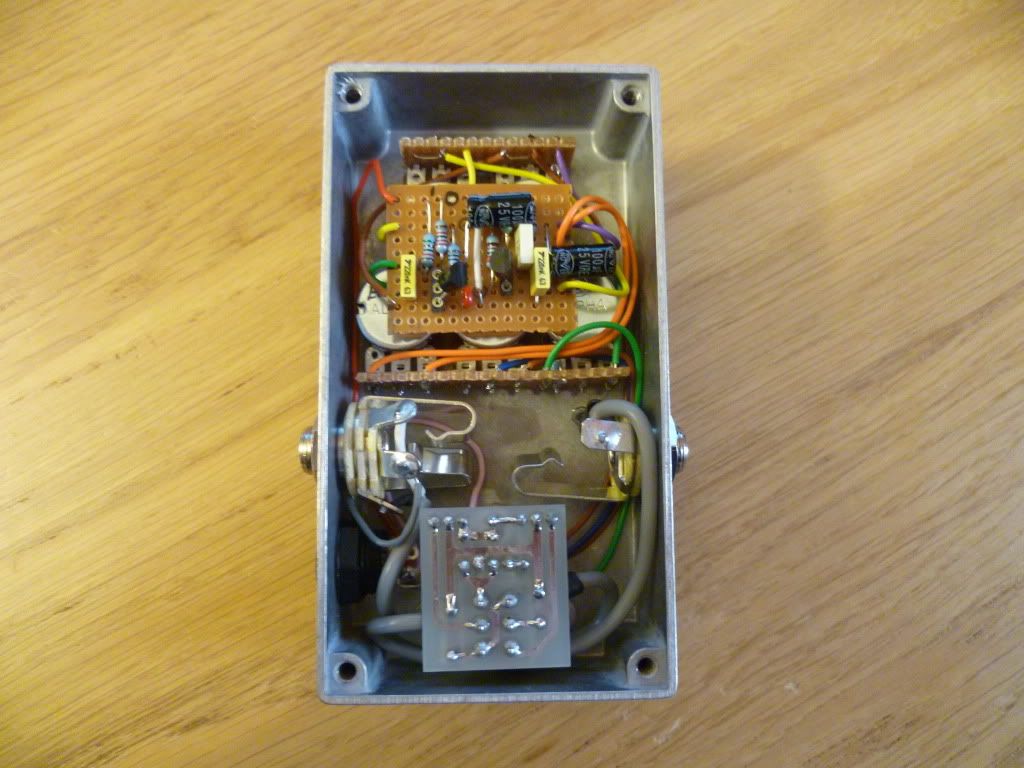
I did some other cool things building this pedal. First was to use vero board for wiring the pots. This allows less ungainly issues with offboard wiring (just use simple jumpers) and provides rigidity and easy soldering of wires (no tack soldering required!). Second was to position the led away from the daughter board. Ive done this before, but it adds to the authenticity of this "copy" (clone / rip off / whatever!)
Here follows some pics of the build. I took quite a few to show a couple of the different techniques.
Drilled enclosure. Not the straightest line of pot holes Ive ever done :( ;)
Speaking of pots, this is my arrangement for the pots.
Handy Jumpers for less wiring ! Note the 100 ohm resistor for the additional Input Impedance control.
Makes it light work to install pots into the drilled holes too (double bonus...I like this a lot!)
Next up is a little detail on something that I have done since nearly day one. That is the joy of screened cable. This is really useful for high gain effects, and I first used it in the Fuzz Factory I made, where there was oscillation bleeding into the clean tone. This is done by stripping the back the outter (in this case grey) cable, revelaing the two cores. One core is used for signal, and at the jack end, you can mesh the red core with the shield. The inner shielding only needs to be connected at one end. The other core, in white, is used for connecting the grounds. Running these through the daugher boards is really useful and cuts down on extraneous offboard wiring. The pic below details the connection to the daughter board. A bit of heatshrink neatens things up a bit.

Then its the usual fun of boxing up. This was a bit of a squeeze; I used a 8mm jack for the Boss compatible power supply connection, and Neutrik 1/4'' jacks for the ins and outs. You can hopefully see the signal and ground connections to the jacks coming from the footswitch board. This keeps your signal nice when the effect is bypassed. Some people go so far as to do all the signal wiring like this, but for me its too much.
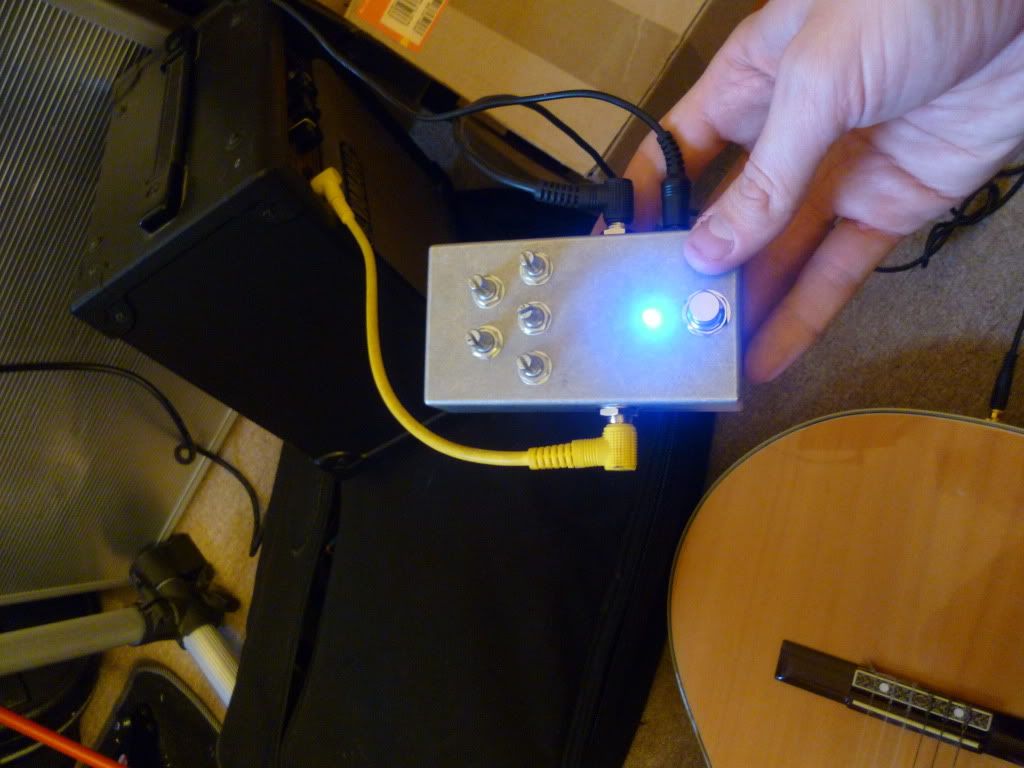
Nearing the end now, this is what stuff looked like without the decals I love doing.
Using small green knobs to complement the colour. Not sure why but the decal came out much greener than my big Mammoth. The big one is more of a bluey green that I really like. Here is a shot for comparison.
Here is some final shots showing the detail of the finished article. It sounds identical to the big box with the input inpedance knob fully clockwise (all the way up. only difference is the Wool knob. Like before I used a 1k (original is a 2k) but in this instance I only had a log pot, so the taper is different, as you'd expect. Still totally usable though.
The whole endeavour took around 4.5 hours give or take. Damn, Im getting fast at this.
As always questions or comments welcome.


