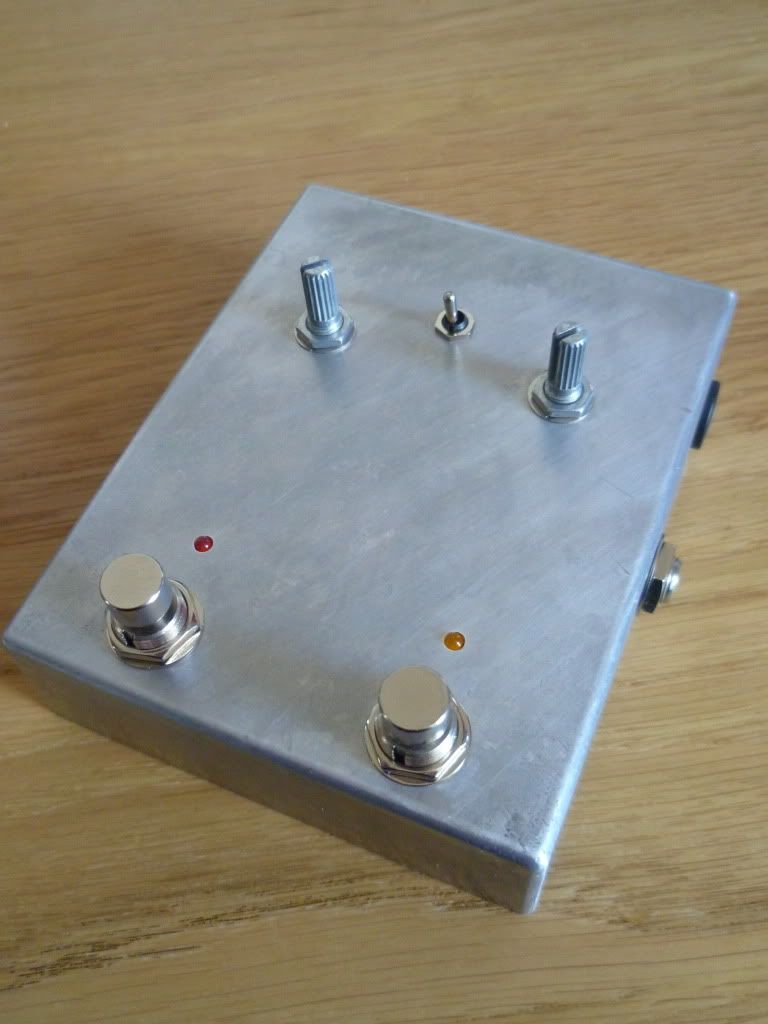
The TSF is, as the name paradoxically suggests, and kinda hybrid of a tube sound overdrive, which gradually builds into a fuzz as you rack up the Fuzz control. It is a simple design based on something called a
CD4049 Hex inverter IC. The original circuit had a Rhythm/Lead switch which switched the 100k resistor between pin14 and Fuzz potentiometer to 10M.I didnt include this in my Llama, as the Llama never had this, but its a nice mod perhaps. By replacing a few components, a Red Llama can be built from the same schematic pretty much. I used this one:
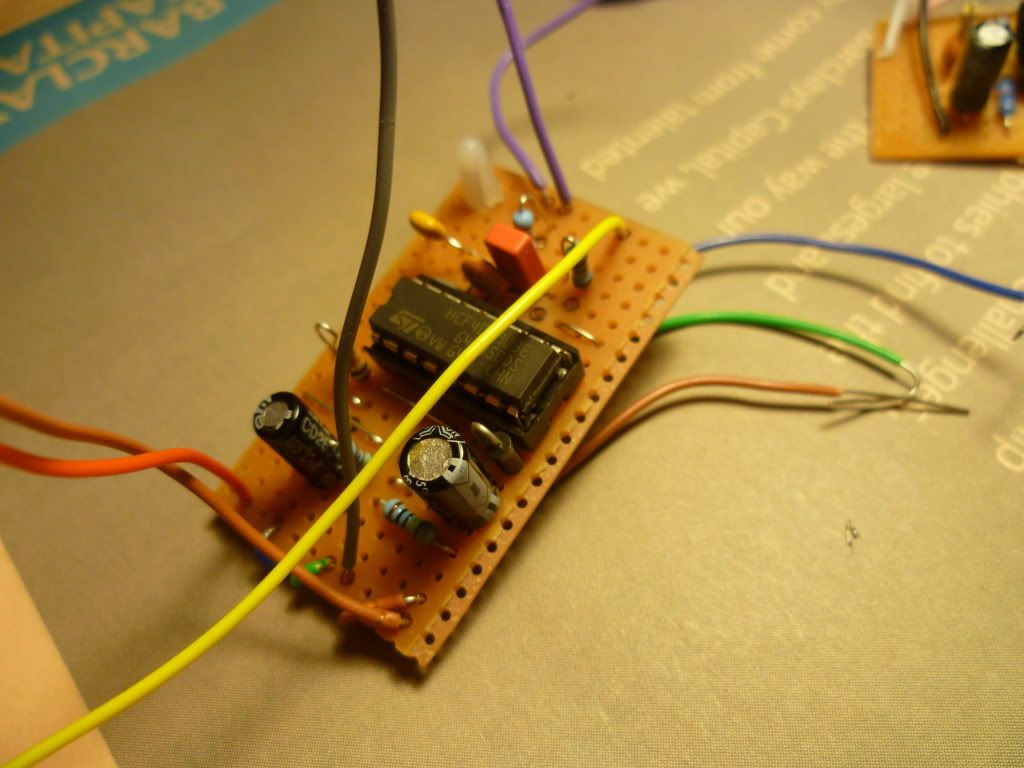
Now, populating the board - 15 components, a few jumpers - on vero looks something like this:
I made some changes to how I box up this time and decided to wire the board completely before situating in to a case. Some of the pot wires therefore arent perfect, but you can judge later in my build images. I tested the board before and confirmed everything worked as it should.
Now, lets adjourn the story there for a sec while I shift
I have had my eye on this schematic since I started out making my own effects, and although not actually a big player of Hendrix et al. I have always enjoyed that ring mod-ish, stinging octave up tone. Therefore I set about making a copy. For those that dont know, this is the original green ringer with some of Dans original line, marketed by Musitronics (MuTron, who most are familiar with):
It seems the Dan is somehow now relaunching his line: Green Ringer reissue information
Anyway, I populated a board for this based on the schematic below:
You can also see that for the longer jumpers, I use off-cuts of cable, and the small ones I use resistor legs. I think either method is good. I also was liberal with sockets, not only socketing transistors as a matter of course, but also socketing the diodes. The schematic says the diodes need to be a matched pair. I wasnt sure exactly how to do this, what it means, or a simple method to do this. Therefore I just went with two from my pack of 30 1N914 diodes. I tested the circuit before moving forward and it works great!
Great - I have two working boards. Now, what to do with them? Fellow FX gurus will remember that at some point Way Huge marketed a couple of octave effects. The Purple Platypus, which was an octave fuzz in one, and the Piercing Moose, which was a dual footswitch drive and octave. I did a bit of digging and discovered that the Piercing Moose is allegedly a Red Llama, and a modified Foxx Tone Machine octave with Tone control, and that the Purple Platypus was a Red Llama and octave up combined and not switchable (http://robol.com/tiki-index.php?page=Way+Huge+Purple+Platypus).
So, my plan now was to do my own take on this, with 2 circuits in series in 1 box, dual footswitchable, for clean, clean-octave, drive, and octi-drive modes :)
I dont know if the Piercing Moose allows for independant switching of the Fuzz and Octave. I will do some research on YouTube. I get the impression its either effect on/off, then switchable octave overtone, but always reliant on the Fuzz being on. I wanted the ability to have clean octave. Worth noting for others who might want to try - you want to figure out whether you want pitch shifted distortion or distorted pitch shift i.e. what order in series you want the effects to go in.
Time for some build pics:
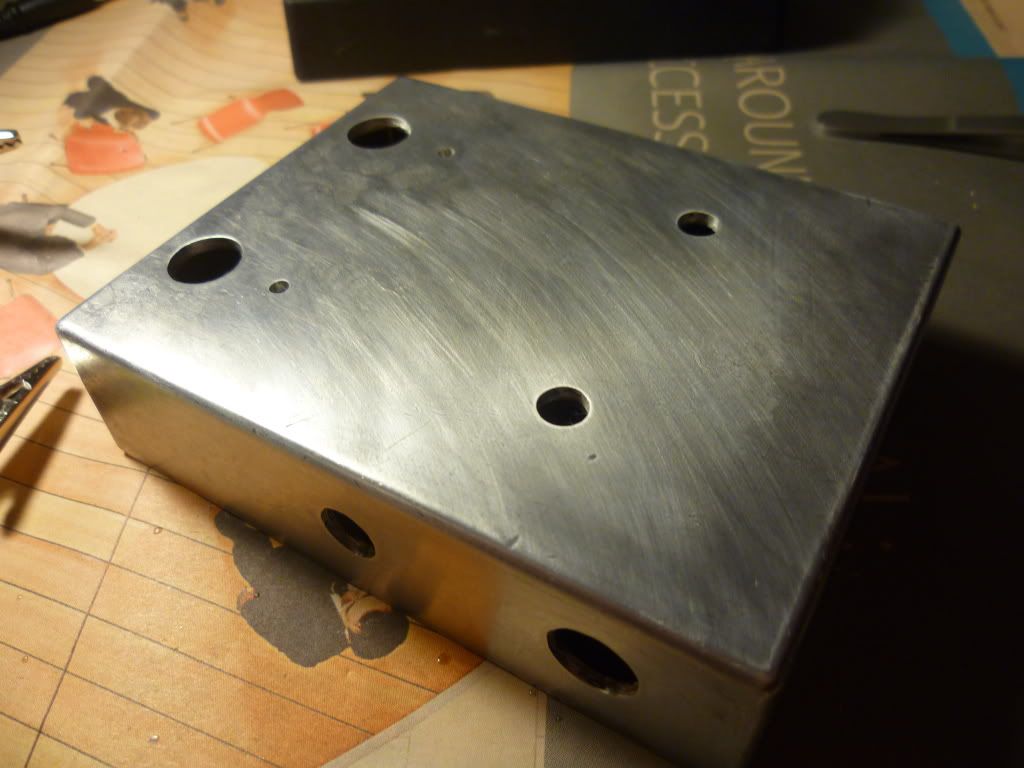
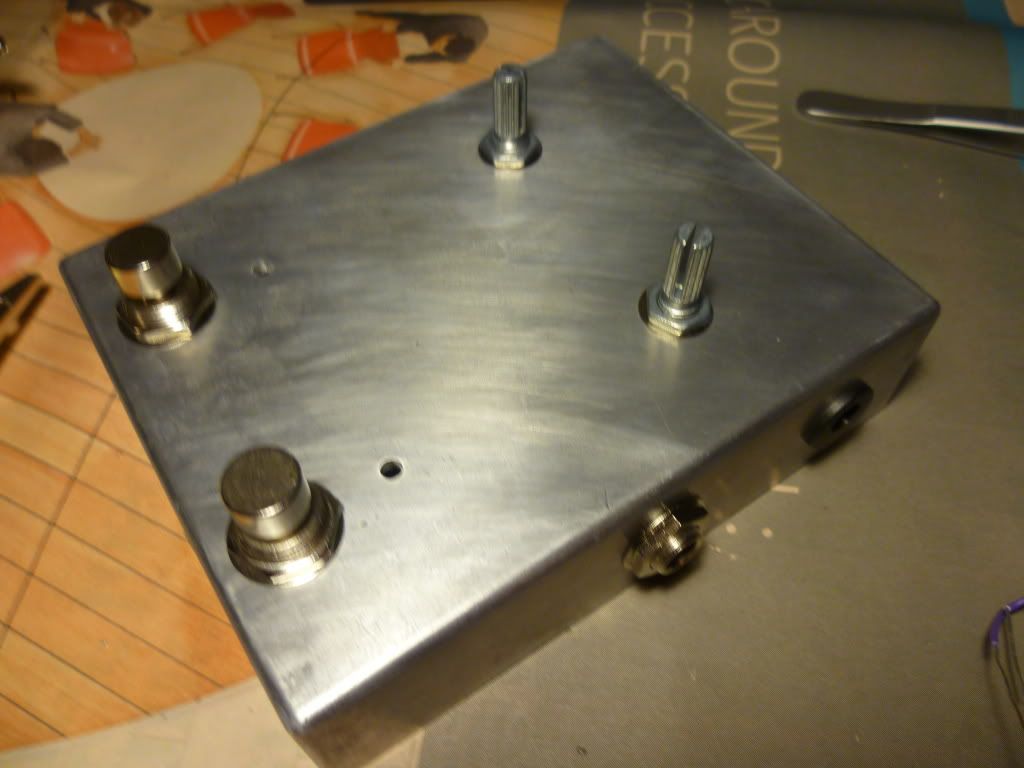
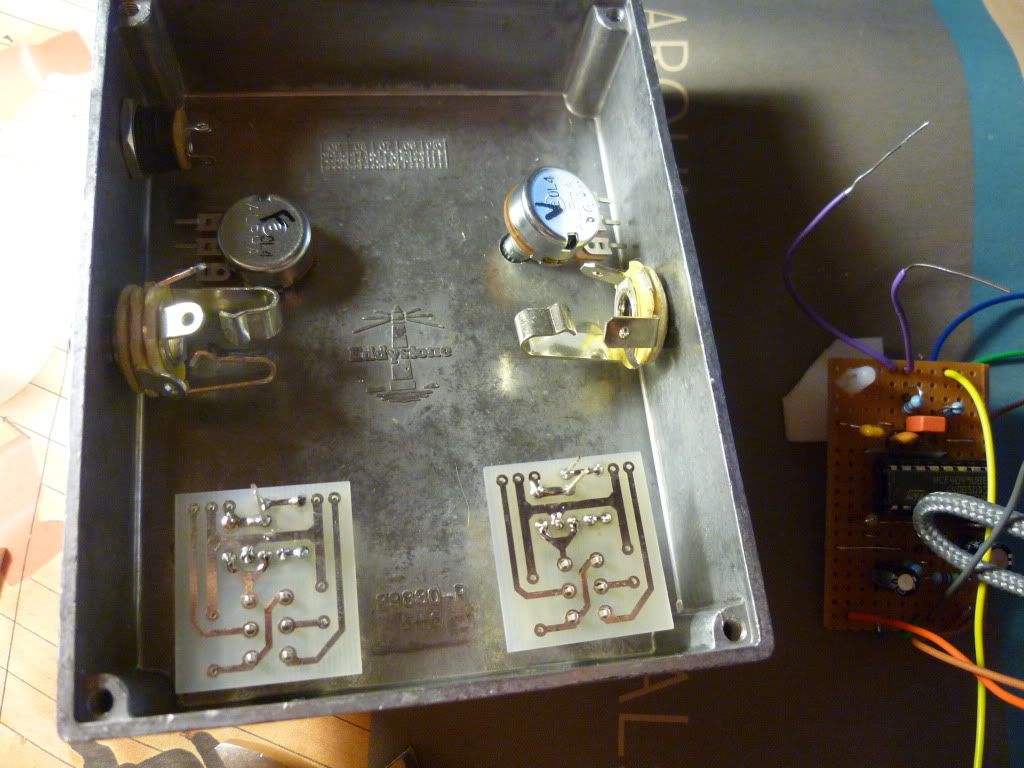
Firstly - mark out and drill the box. This took some deliberation and some fidding with layouts to determine where everything would go. The two circuits are quite large, so this needed to be done patiently and correctly.
Secondly - check components location and that everything will fit!
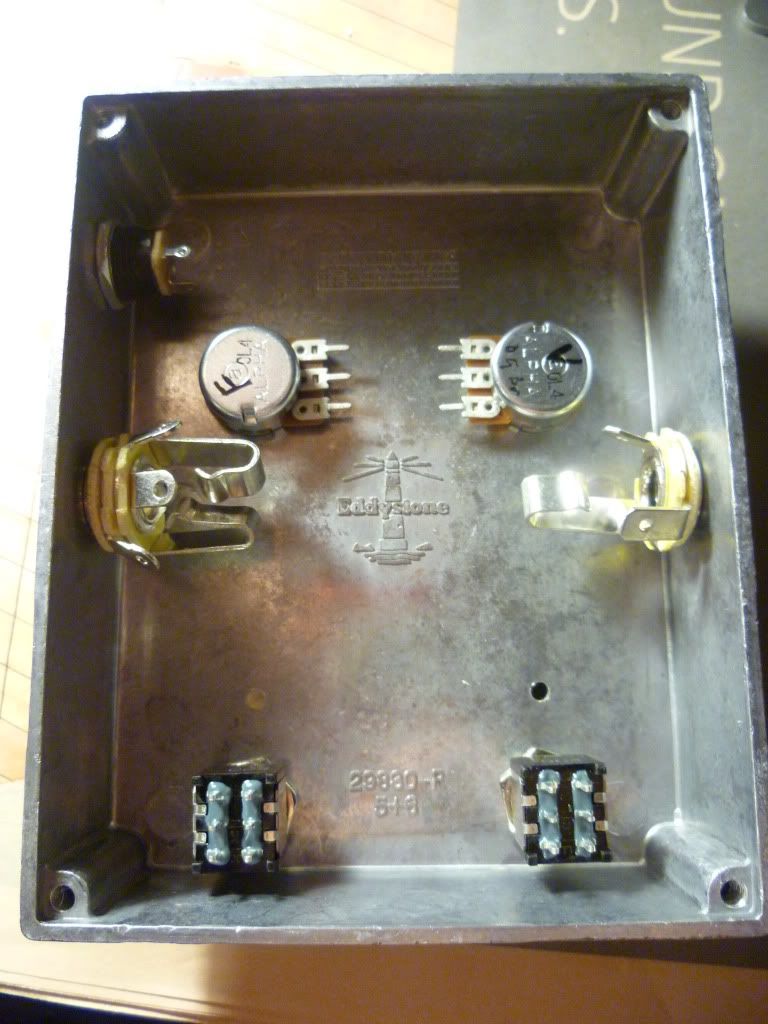
Next few steps, start to build up the internals. I didnt take a pic at every stage, as I was concentrating a fair amount on this, being my most complex build to date.
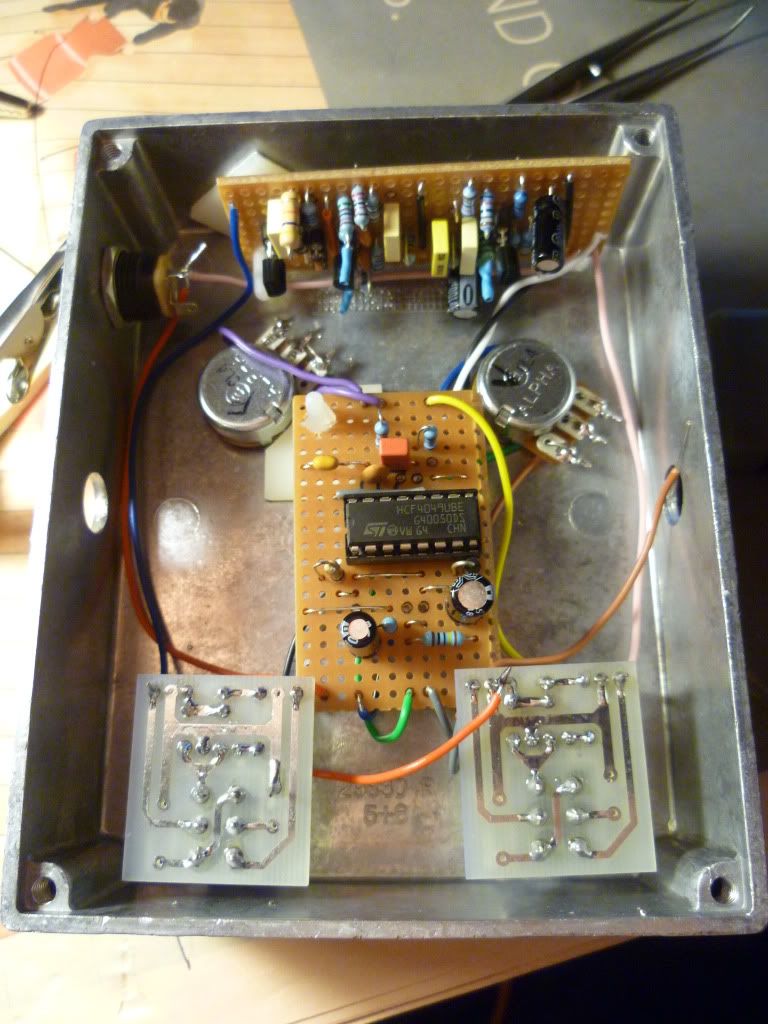
A big jump here, the Red Llama board is in place (with nylon standoff) and pots wired in.
Next step up is fitting both circuits in the box. The Green Ringer was pre-checked to fit along the top side of the pedal. Again Ive used a Nylon standoff for this. I dont really like the idea of just sticking boards to pots, or wrapping them in insulation tape and having them flap around in the case. Comments?!
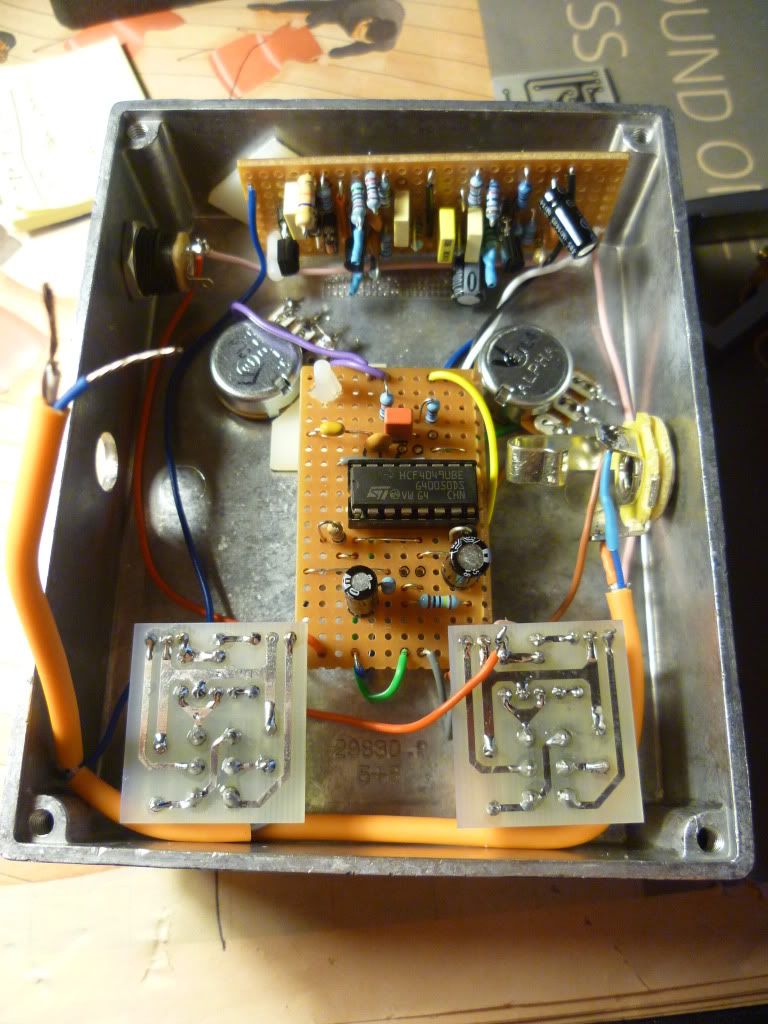
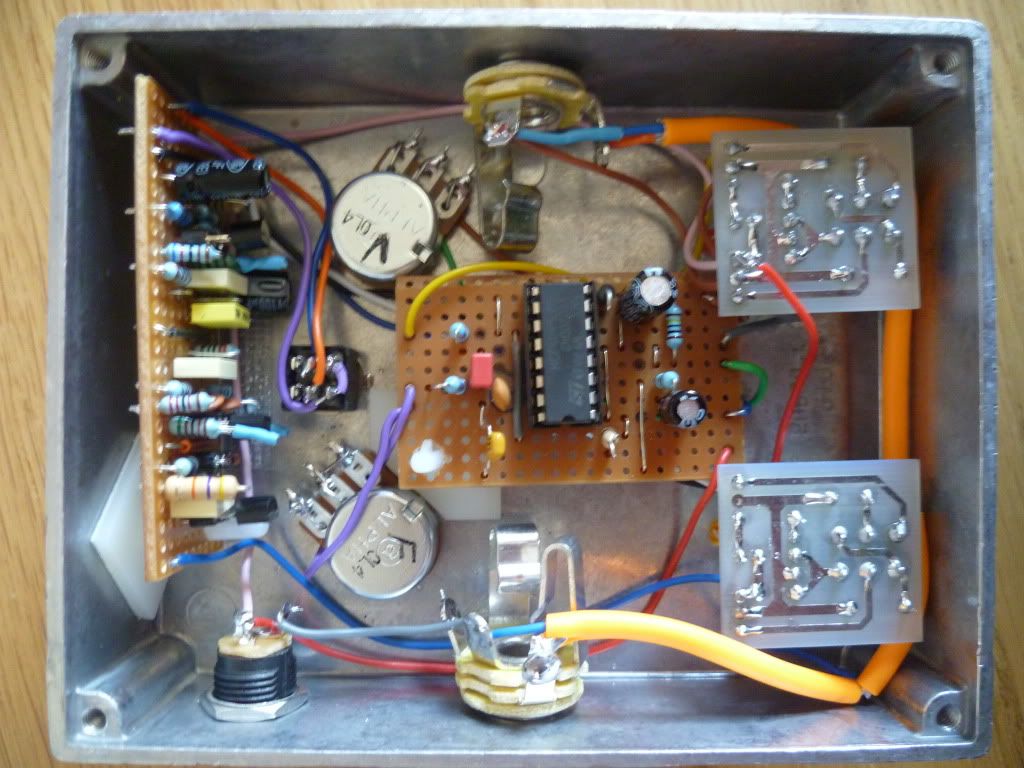
The next step is to wire up the DPDT boards and input/outputs. For this project, I have the Green Ringer first in line from the guitar input, and then from the output of the First DPDT to the input of the second DPDT (controlling the Red Llama circuit) then through to the amplifier output jack.
I've used liberal amounts of screened cable for this job :)
This stuff is really cool because it has two cores, and screening (both stranded wire and what is kinda like aluminium foil). This means you can join your signal and grounds together quite easily. It also is very good for eliminating interference in high gain applications. Though this isnt a super high gain pedal, I wanted to avoid any possible issues. You can likely buy many brands, but the funky neon orange stuff I use is less than £1 a metre from Dr Tweek
From the pic above and the one below, youll notice a red flying lead on top of the right DPDT controlling the Red Llama. This is because I have daisy chained together the +9v power. Might not look pretty, but it is functional.
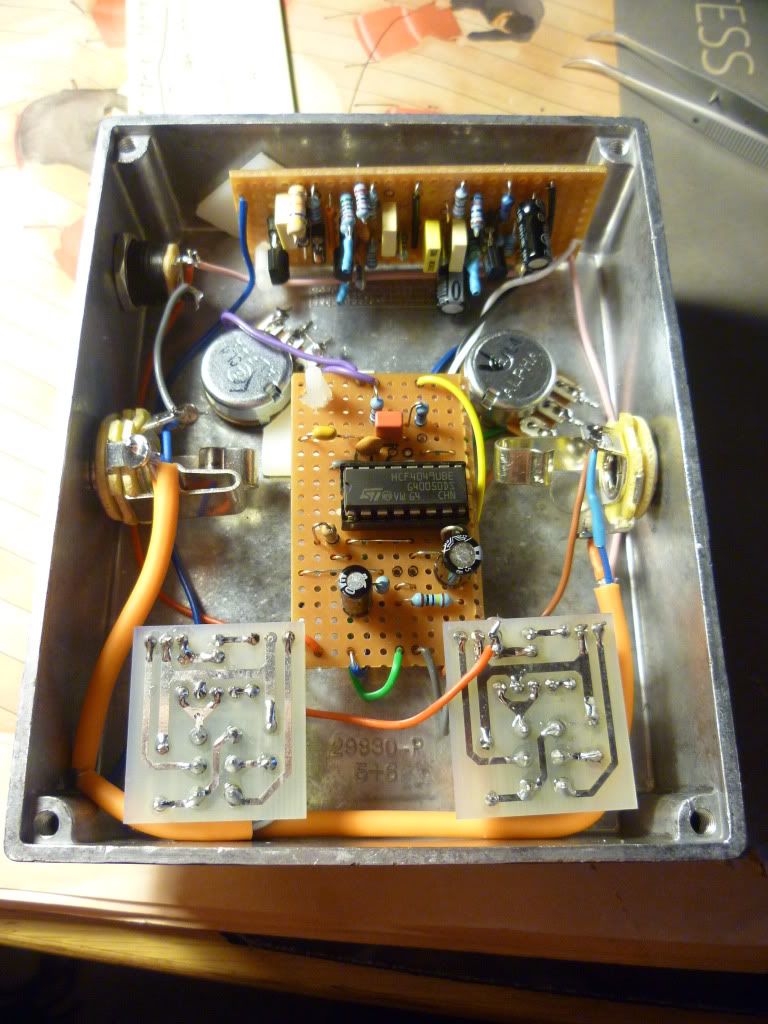
The all important "everything in" shot:
Aaaand a very cool collage of LED modes for the device :)
Now I just need some decent big control knobs and a design for a decal. Any suggestions??
My next project will be Little Angel Chorus....stay tuned.
UPDATE:
Now with added filter switch :)
In the up position its stock, in the down position it engages a filter which gives a more pronounced octave effect. Both options sound cool! Thanks to Doctor Tweek again for the mini DPDT toggle (80p ish)
Gutshot:
Video:

