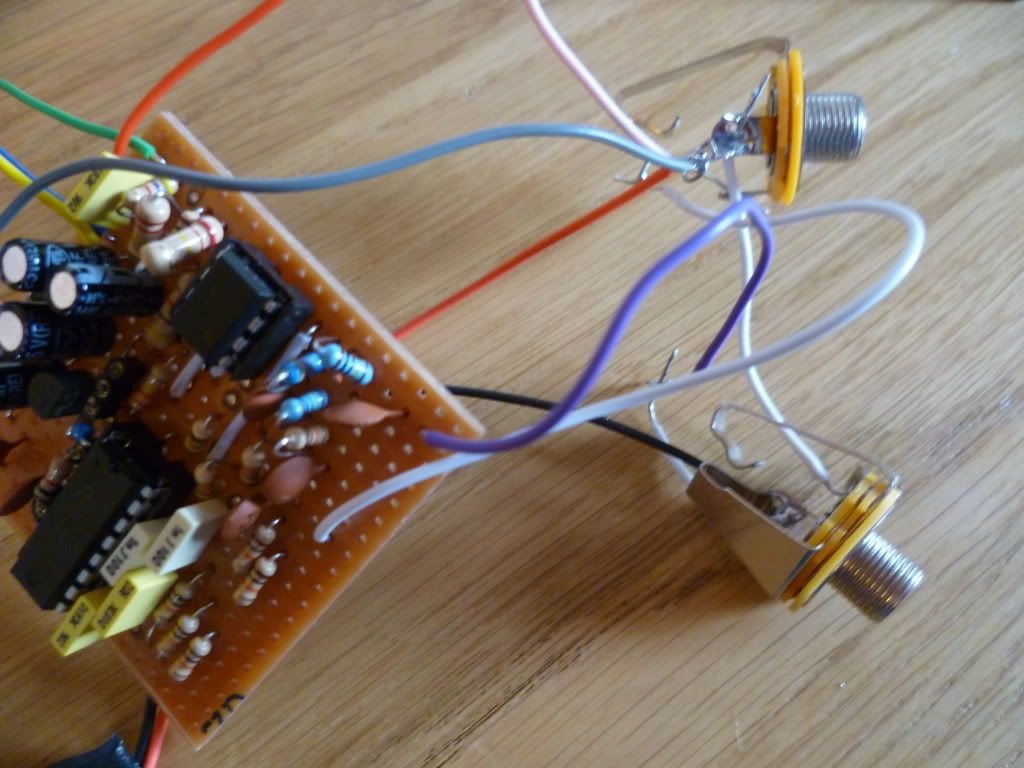
First up, I have to get this one documented as it caused me no end of frustration. It still isnt perfect as its a bit noisy, and I am not sure why, but it works. I built two of these Little Angel Chorus pedals, following this schematic:

Its classed as a verfied layout, still, two attempts and a couple of PT2399 IC's later (thanks IvIark and Dr Tweek for the help with those) and the damn thing wouldnt chorus for the life of me. You can check out the main thread I used for help here: http://www.freestompboxes.org/viewtopic.php?f=13&t=10276&p=141735&hilit=little+angel#p141735
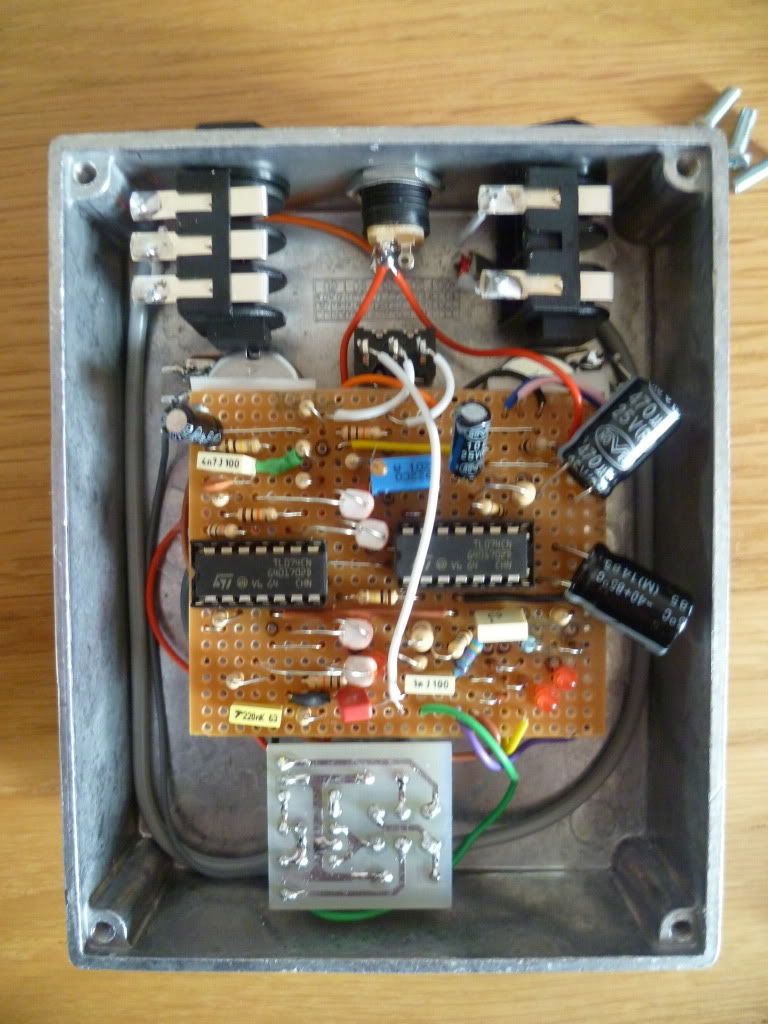
Anyway, here are what my boards look like. The first one is atrocious, and all wonky and horrid. In hindsight Im not suprised it didnt, and still doesnt, function:

This is the second one hooked up to really the cheapest jacks ever (never use ebay...) but its good for testing purposes.
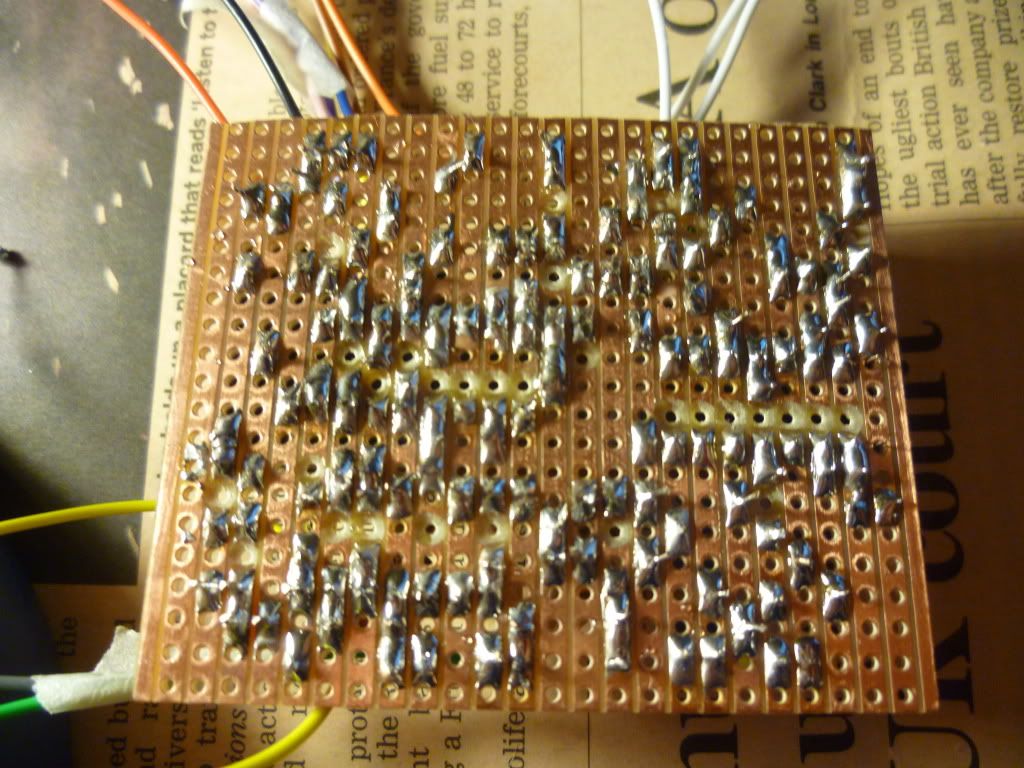
The moral of this tale is to always check for solder bridges, cos thats what it turned out to be... sigh.
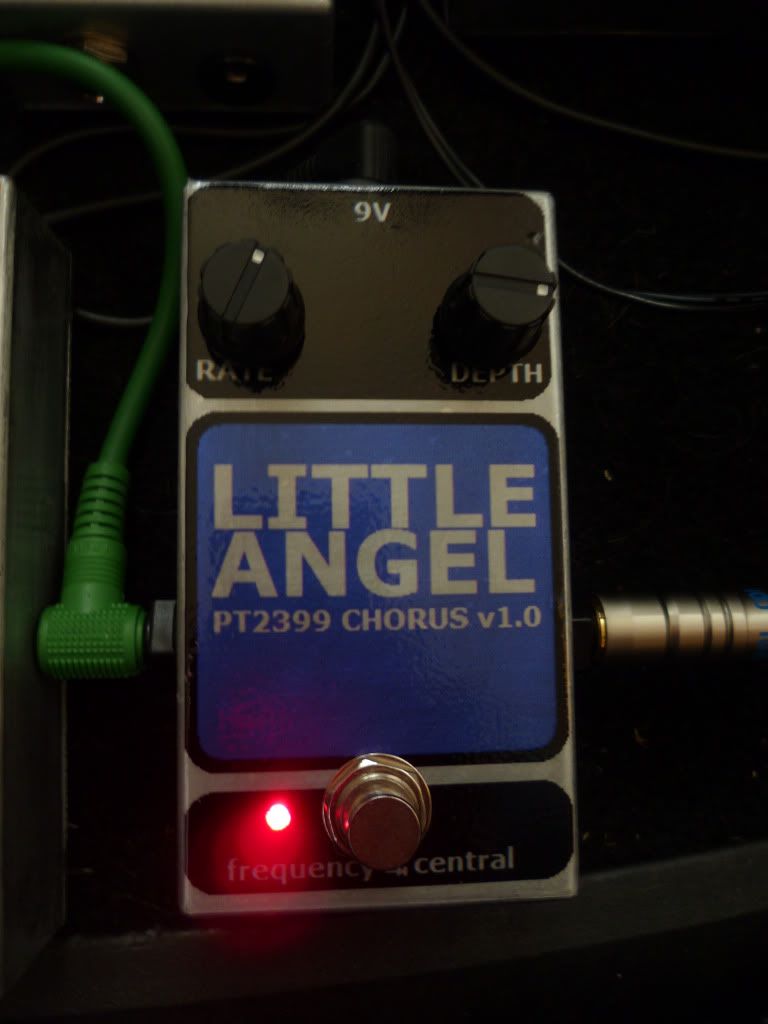
Anyway, I'm not 100% happy with it, and there are some revisions to the circuit posted that I recommend anyone wishing to follow this and build one takes note of, particularly if you arent using a PCB but Veroboard.
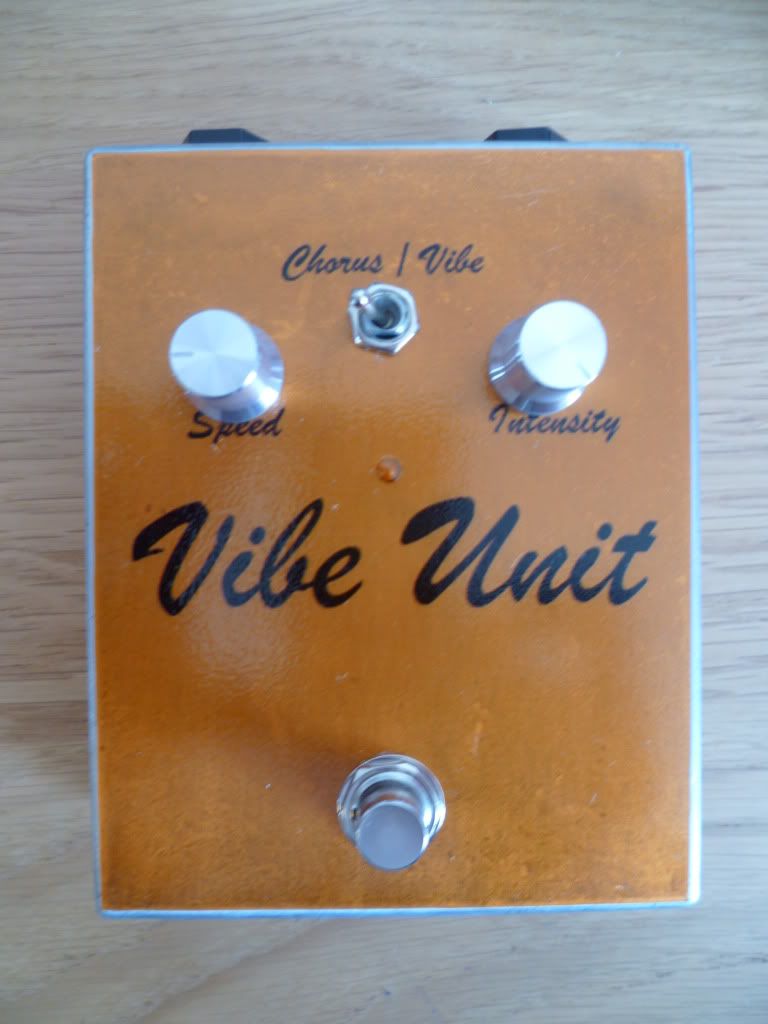
This is what I have made for the decal, an homage to the lovely EH Small Clone:
Next up, the pedal that restored my faith in my Vero abilities. The John Hollis Easy Vibe. I have long loved the sound of Uni Vibes, but really, they are prohibitively expensive to buy a decent one these days. Sure Danelectro knock one out for £40 but then you have to rehouse it and all that shit. Anyway, John Hollis. I just found out about this dude and he seems to be somewhat of a pedal legend. His website is full of awesome stuff, including a handful of promising sounding pedals. I decided to make the Easy Vibe, cos it seemed, well, EASY (sorry) and I had the requisite parts (minus the ICs and LDRs, couple of quid from Bits Box).
The vero is one I found via Google, courtesy of some fine chap at DIYSB:

These are some pictures from the build:
OMG THATS A LOT OF SOLDERING
Component side up:

Because of the size of the Vero board, you need to fit this in a bigger box. This is mine with some of the hardware layed out. As with my other builds, take time here, and it saves headaches later on...
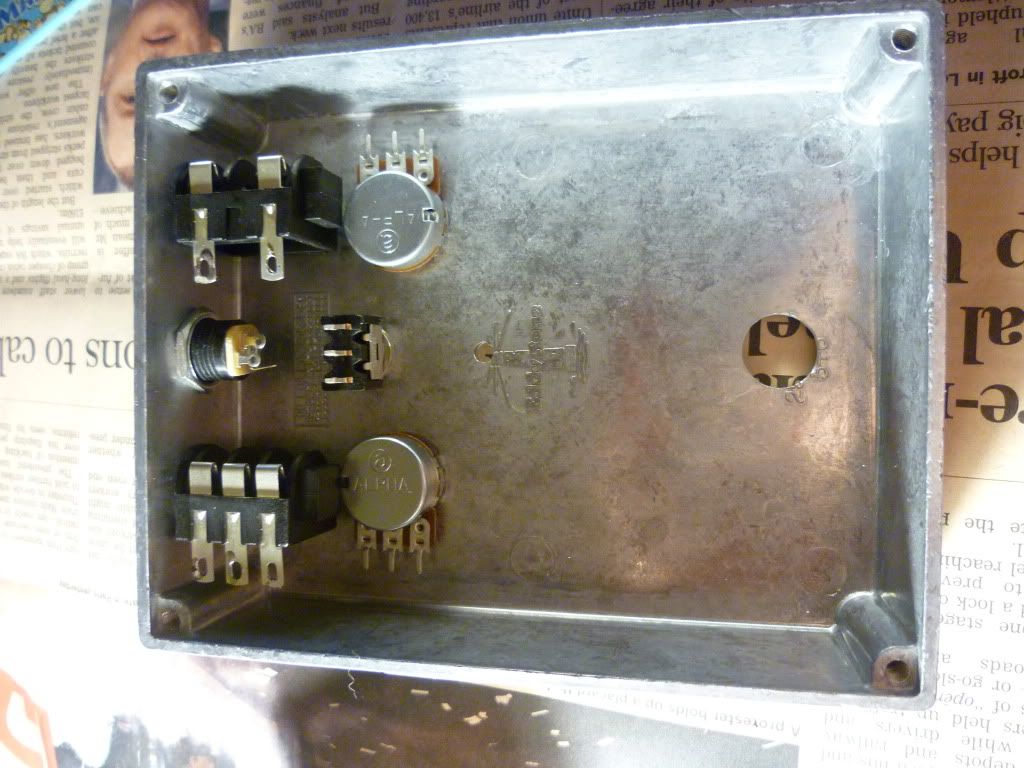
As you can see Im using whats left of some nice, but not as nice as metal, Rean semi open plastic jacks. These are about 60p from Rapid in the UK. I have recently placed a mass order from Banzai for more metal switchcraft jacks. As before, the idiots are taking ages to ship. Still, these are similar to the ones used in Lovetone, and seem robust, if a little less chunky and nice as the metal ones. Im officially out of Boss style 9v jacks now until Banzai deliver, so Its gonna be a quiet few weeks after this mass update...
Anyway, this is a nice pic of everything in. Its not the prettiest thing ever, but it sounds lush. Note, I havent shrinkwrapped the LED/LDR combos. I tried it, and the sound was spot on for me. I have ordered some big shrinkwrap that I can resersibly attach when it arrives and hear any difference:
Heres a cool little video of the 4 LEDs pulsing and me messing with the rate control :)
Hopefully that works...
Anyway. Its a great effect and gives a faithful sound alike of the real thing. The Chorus / Vibrato switch works a treat. Chorus blends back in the straight signal to give that hollowed out phase shifty vibe sound. Vibe is effected only and gives pitch modulation. Overall it sounds KILLER and very similar to my Lovetone Doppelganger (high praise indeed!).
I have done a decal for this, nice and simple and orange :)

Here is what the build looked like for me:
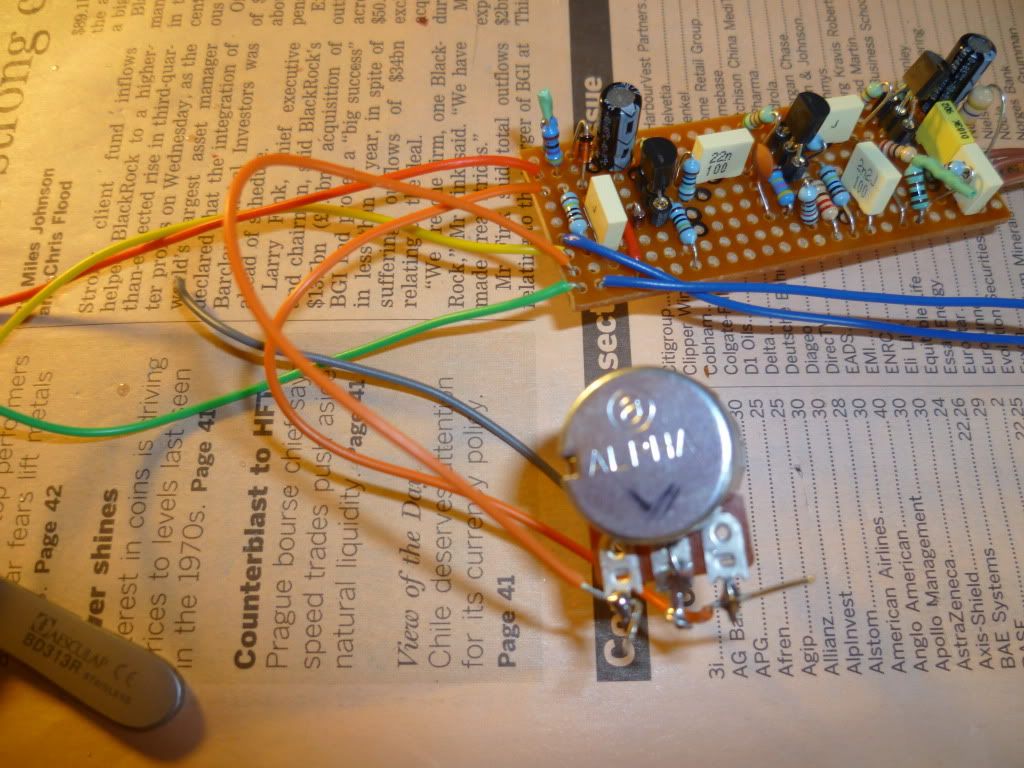
Not the best picture sorry. Anyway, I had to bodge a 330r and another resistor cos I didnt have the right values (82r) I doubt it woulda made much difference to just use the closest I had (say 220r and a 100r). Good thing was it worked. I boxed it all up:
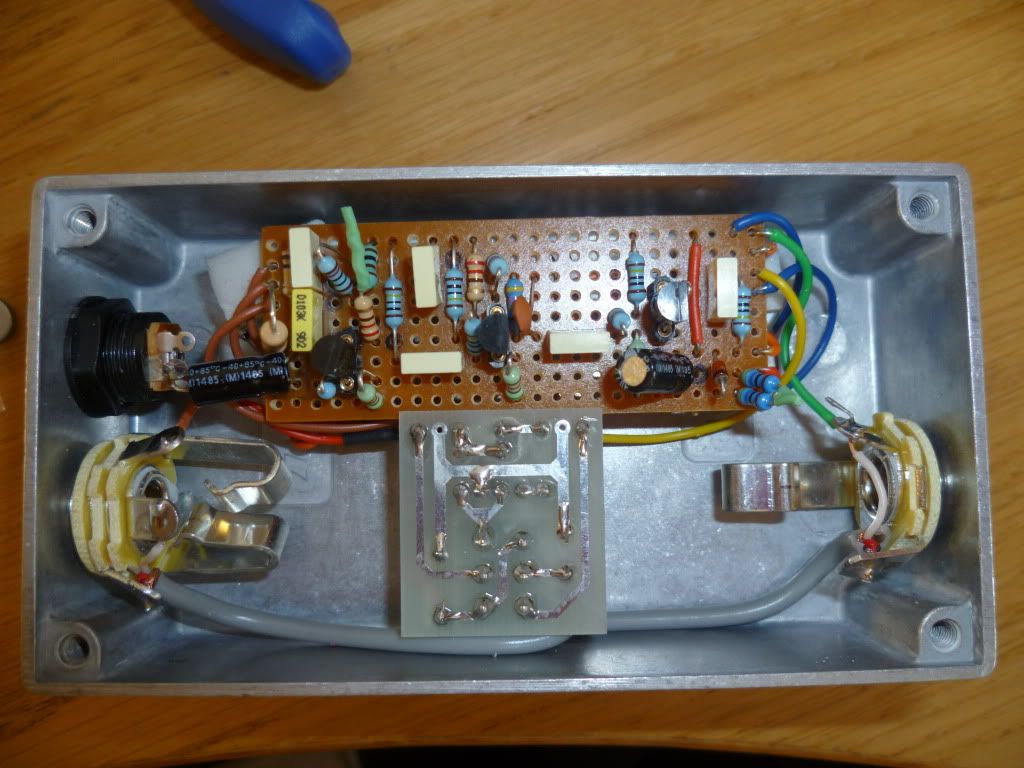
This build used the last pair of Neutrik (switchcraft style) jacks. Mainly cos I wanted it to match my Fuzz Factory somewhat. I used some shielded cable for the ins and outs (dual core, so you can wire the grounds easily too). Rather than the neon orange Van Damme stuff Ive got this gray version from BitsBox. Works well.
Upon listening to the effect I was wishing for a hair more gain. Keen eyed effect fans will know mr Vex launched a cheapo series (still £150) which includes someting called a Distortron and the Mastrotron. Mastotron is basically a Woolly Mammoth, SMD, with 2N2222 trannys and switchale subs, with a input impedance knob (which is pretty useful, wish Id built that into my Mammoth, ahem...). Anyway the Distortron is pitched as the drive only part of the Box Of Rock, but again has added features to go with its overseas SMD construction. It has a lo/hi gain toggle, and switchable subs. As I am happy with the bass levels this thing kicks out, I was only interested in the Gain. Reading on FSB I found out that the switch basically shorts the 330r resistor from the 3rd transistor to ground for higher gain.
I implemented this using a SPDT switch and changing the layout a tiny bit. Excuse the use of MS paint:

Heres a somewhat poorly lit gutshot (note, wires for SPDT are yellow and orange in my build):
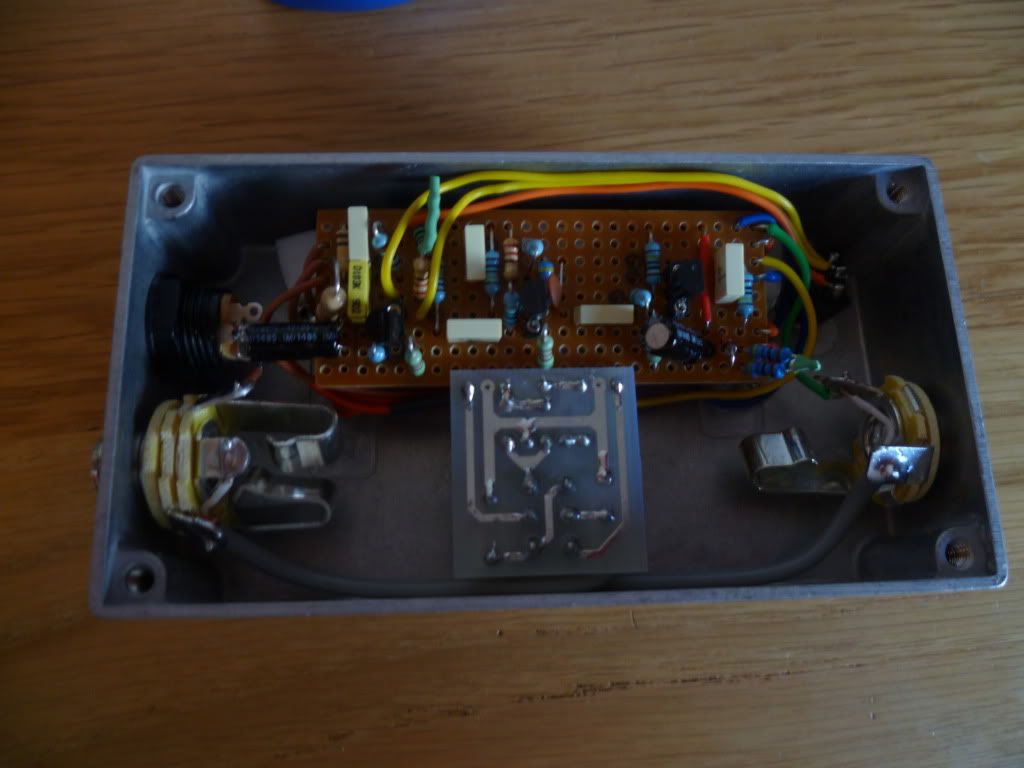
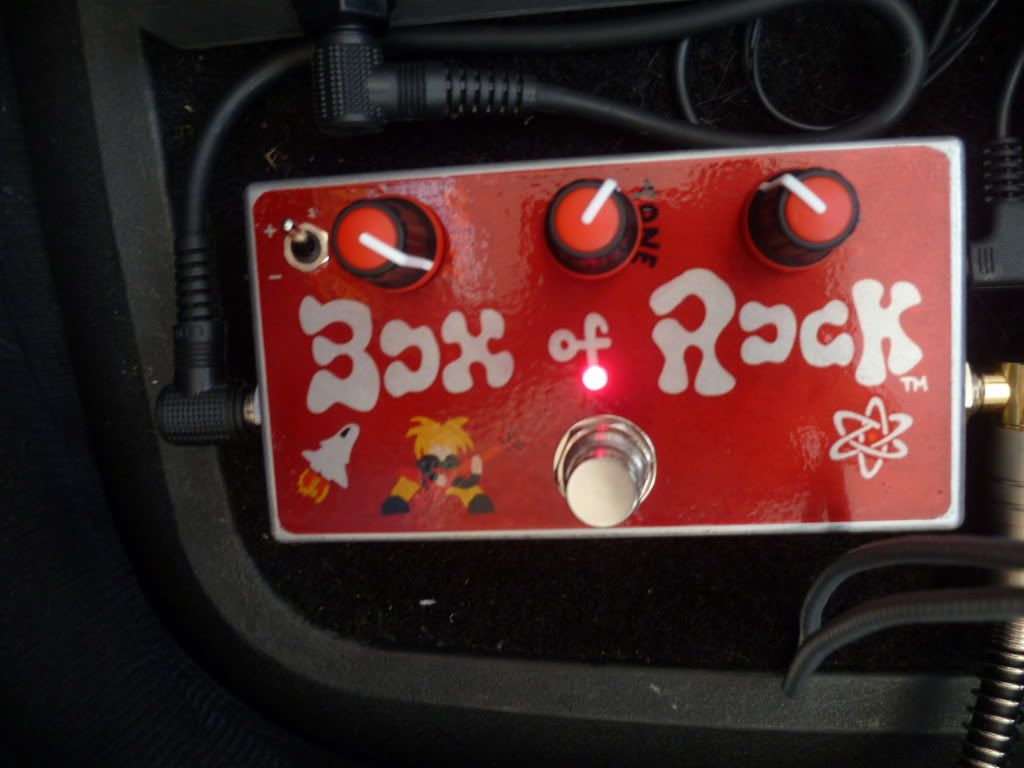
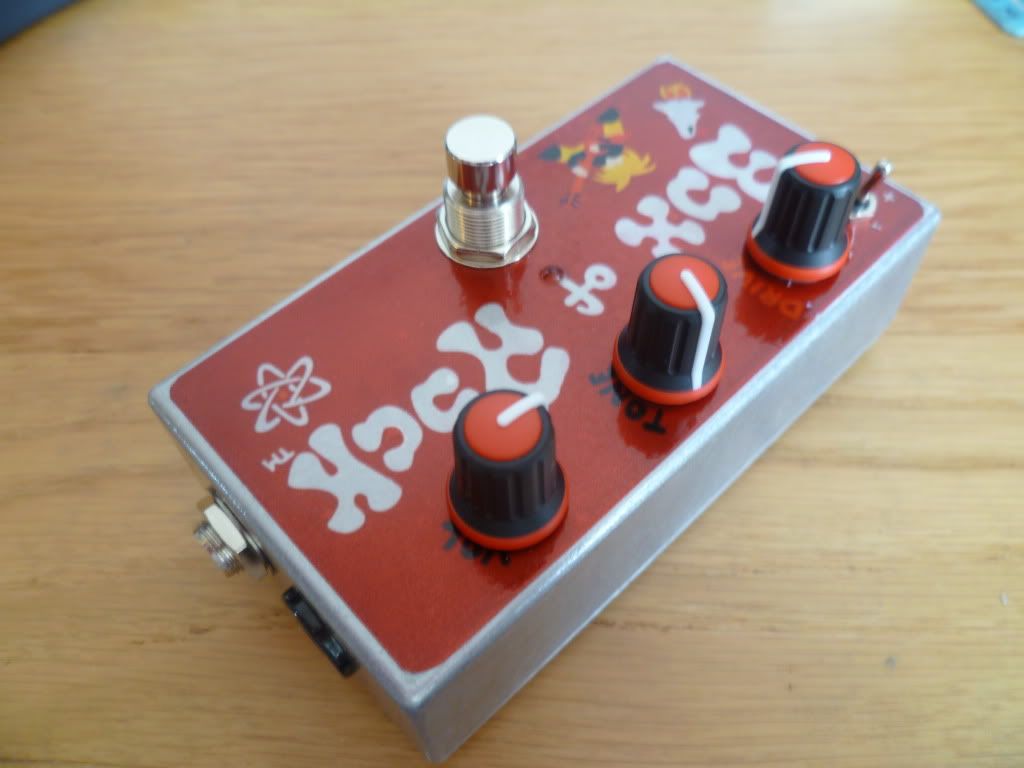
Finally, here is the finished article, with nice Red knobs and my hack job from the original artwork. Im really happy with this build. Not sure if its ended my search for that classic 80s distortion sound, but its simple to build and cheap parts. I will have to do another mega update with sound clips for all these new pedals. Stay in touch for that!
Red for RAWK!
wow you have been busy!!!
ReplyDeleteI'm having a problem with banzai right now... that bluesbreaker I'm building for a friend is taking ages because of them :(
I'm amazed and delighted how you thrown yourself into these pretty complicated builds, it great to see.... especially as they are turning out so well.
The vibe looks great, after I'm settled after the move (i'm moving house next week) I think I'll stop building dirt pedals for a while and tackle one of these myself, I'll know where to come if I get any problems!! :)
Good luck with the home move and thanks for the comments. Honestly was inspired by your blog and all the *extremely* useful beginners guides to everything. Cheers for those dude.
ReplyDeleteWith regards pedals other than distortion devices, the jump isnt that severe, and for anything that looks a real chore, the PCBs are great arent they? That Echo Base woulda been a pain on Vero, especially working out where the mods went to. Some things it seems its worth investing in a PCB.
Banzai are complete arse...but some stuff they do is such high quality and low price...I have just ordered 50x input jacks cos they do Neutrik open ones which are a cut above for about £0.79p each...So I have an £80 order. Last time I pestered them via email, which I have done this time to, to get them to send shit out. What are you waiting on? maybe I have it here and can post you it...
And no I havent just slung the Bazz Fuzz in a drawer...actually wait thats a lie! LOL. But with good reason. I plan to make an envelope filter / follower at some point, and have switchable fuzz circuit (something akin to a BassBalls by electro-harmonix, if you know what that is). So its waiting its time patiently for the right application :)
Just added another short entry on decals to boot. You should give them a go sometime...Ive almost convinced IvIark ;)...
Oh and the vibe parts are pretty easy to get - I used LDRs from Bits Box at 50p each. Trim pots you can get from them too. The only thing that is harder to get is 15nF caps, but you likely have a stash of those...
ReplyDeleteAnything else give me a shout. there are different ways to make the vibe (4 x dual op amps, for instance) so have a look and see what takes your fancy.
yeah, I have loads of 15nf caps (grey box caps if I recall) and yeah, if you need anything give me a shout.. I have seriously stupid amounts of caps here, I'll never use them all so if there's an odd value you need or whatever just holler! it's all sort of packed away right now, but in a week or so I'll have a clearer picture!!
ReplyDeleteI'm always up for trading parts of stuff I have loads of, so when I get settled I'll do a blog post about all the stuff I have and if anything takes your fancy we'll do some trades. :)
Very nice stuff Ian, your builds are looking great. I've actually got some white and clear decals now, I just haven't had a play about with them yet. I've got a template made up though so I'll work out my next 5 builds so I can do all the decals together on one sheet.
ReplyDeleteOne will definitely be a Rat, simply because I've found a great rat graphic to use with a red eye LED! :o)
Hi , Please could you help , still learning can you tell me where the output line is on the Box Of Rock schematic (2)) best regards Stu
ReplyDeleteVolume put. Vol 3 is from the board, vol 2 is out, vol 1 is ground. Enjoy
ReplyDelete