First up I have to give massive props to Taylor over at musicpcb.com.
The Meatball is one of the most sought after envlope followers / triggered filters on the market. Originally a take on the classic Mutron 3 with some extra bits (notably pedal controls and an effects loops) the Lovetone Meatball is a big blue barrell of fun and commands about £500+ on the used market. Apart from the Big Cheese, the Meatball (anecdotally, I dont have figures) is the longest produced and therefore most frequently available pedal. Many people have worked on clones. Most notable was the McMeat project, but this required all pots switches and jacks offboard wired. this is a massive undertaking with the 4 x 3P4T rotary switches involved. So where does Taylor come in? He has made a project that is basically the Meatball, with onboard pots and rotaries, for $17 in a sexy blue double sided professional PCB, with full build instructions. It fits in a Hammond 1590BBDD enclosure, and there is even a drill template. Therefore, for around £50, you can make your very own Meatball. Absolutely amazing. My lovely girlfriend bought me all the parts for my birthday, and I set about making my replica.
Here are the pics:
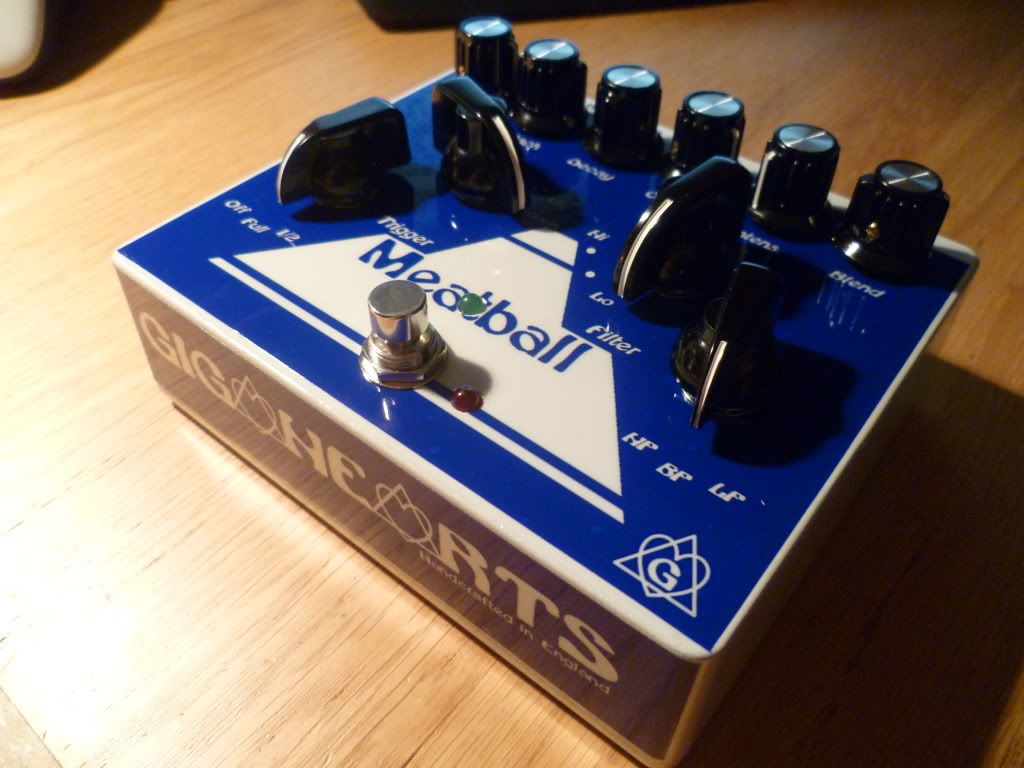
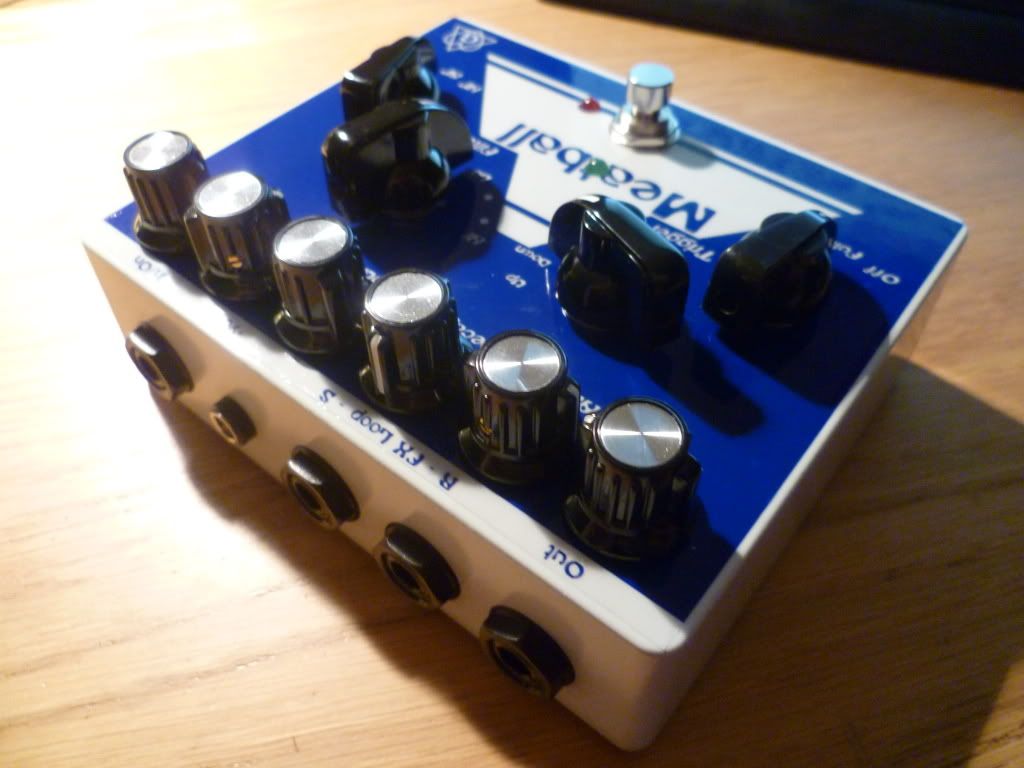
Those familiar with the original will note that the pedal controls are omitted. Its a fickle beast and very hard to dial in but you can get some sweet and varied filter sweep sounds. It is also really cool with a Fuzz in the loop.
Next up for this Lovetone clone journey is something scary. Big and scary. So big and scary its been sat in my to do draw half finished for about 4 months. Let me tell the whole story....
About 6 months ago while I was still very much a noob (in some respects of course I still am) I realised that perhaps one day, just perhaps, I might be able to make a Lovetone workalike. So I went off on the net to read about them. I found a project for a Ring Stinger workalike, called the String Ringer. Obviously, this requires a PCB to be fabricated, not something I am still set up for, choosing Vero for the most part. Fast forward a few months, and I decided it was time to try this.
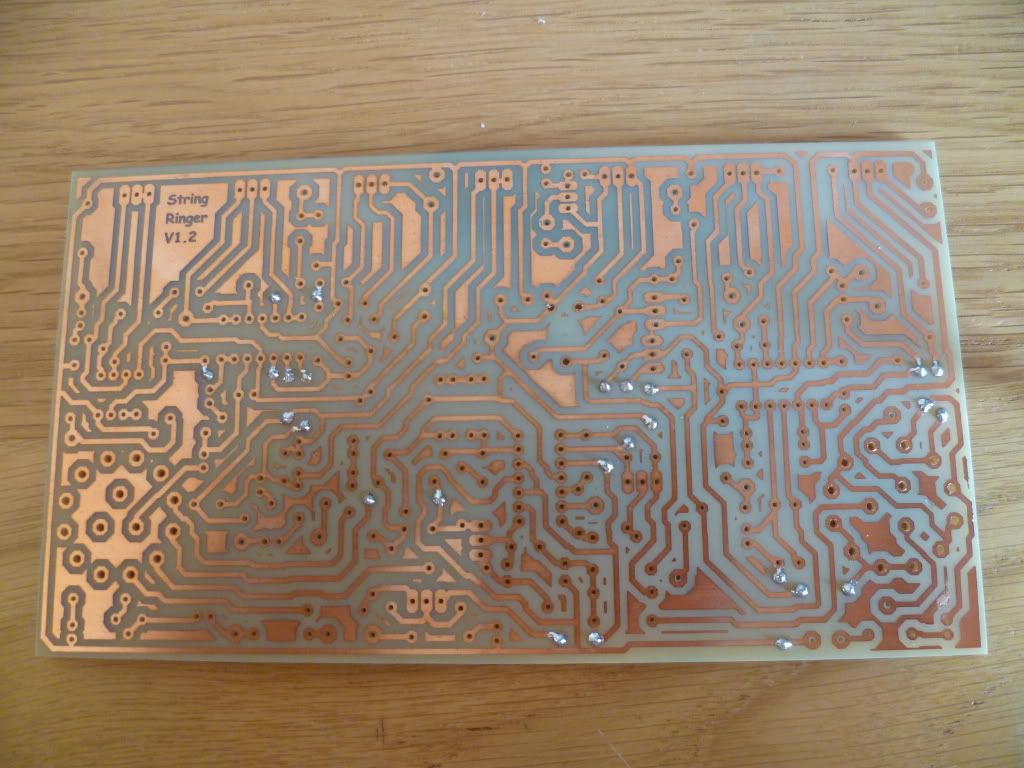
I got Barry over at GuitarPCB.com to agree to etch the boards for me. There are two boards with the Ring Stinger, the massive main board, and a daughter board for the Germanium diodes and transformers. He charged an extremely reasonable amount, I think I recall it was $70 or $80 for two sets. When you consider typically 2 square inch PCBs are sold for about $10-12 per peice, this is looking a real good purchase.
So, this was somewhat easy. Next was sourcing all the components. I wanted to go as close to the original device as possible, and to enable onboard pots, this meant sourcing Bournes 91 potentiometers. Damn. These are fairly hard to find. Eventually I had to settle for all linear 100k pots (the schematic calls for all 100k pots, but a couple should be audio taper if we are splitting hairs). I got them from Farnell, and bought enough to make the two complete pedals to make it even vaguely economical. In numbers less than 10, these are over £4 each (!)
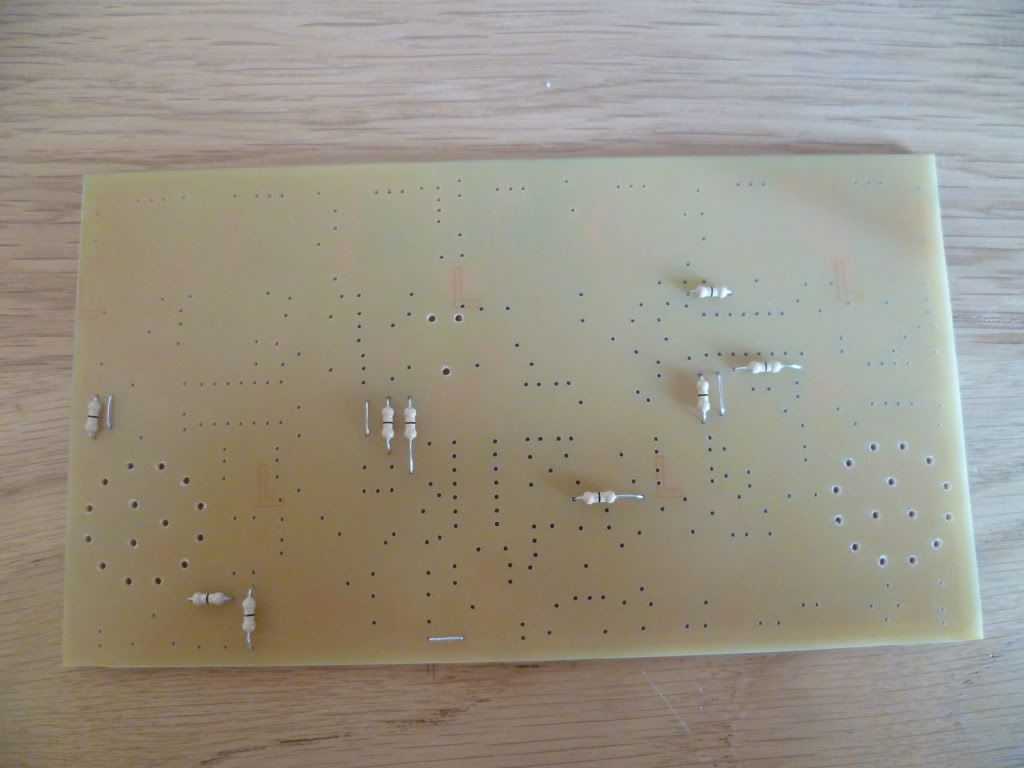
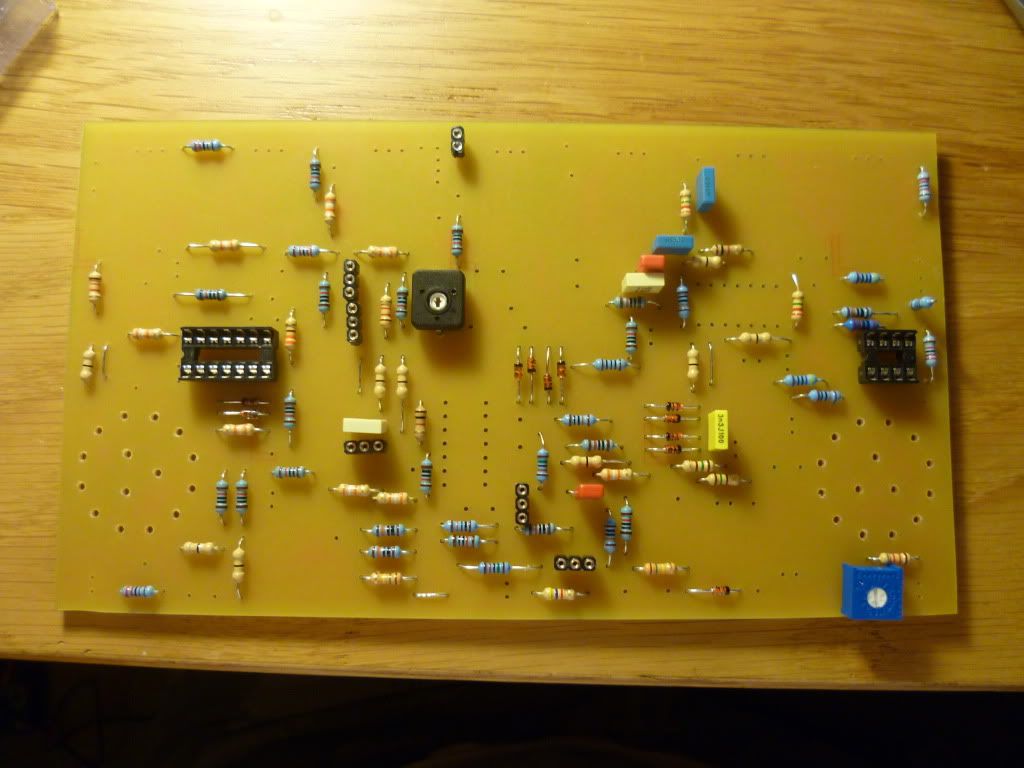
Next up was a suprise. The suprise was the utility of Maplins. Beleive it or not, Maplins stock not only the correct potentiometer knobs as used on the real deal (£1.09 each), but also the LT-44 transformers used in the stock unit. Perfect! I will never slight Maplins again (lie). Great. Everything else was fairly commonplace bar some wierd transistor used for polarity protection, some odd resistor and cap values, and a 15v zener diode. You can read the BOM in the document here: http://homepage.ntlworld.com/paul.nelson666/StringRingerv12r.pdf Its fairly vast. The main board took me about 6 hours to populate. There are tons and tons of resistors and capacitors. The ICs are common TL074 and NE5532 opamps. Rotaries can be Lorlin or Alpha enclosed plastic types.
Here are a series of pictures I took while populating the main board. Note, where appropriate, I used Lovetone style 0ohm jumpers :)
I had to drill out the holes on the rotary's and for the VCO trimpot. Everything else was done by Barry.
Adding jumpers
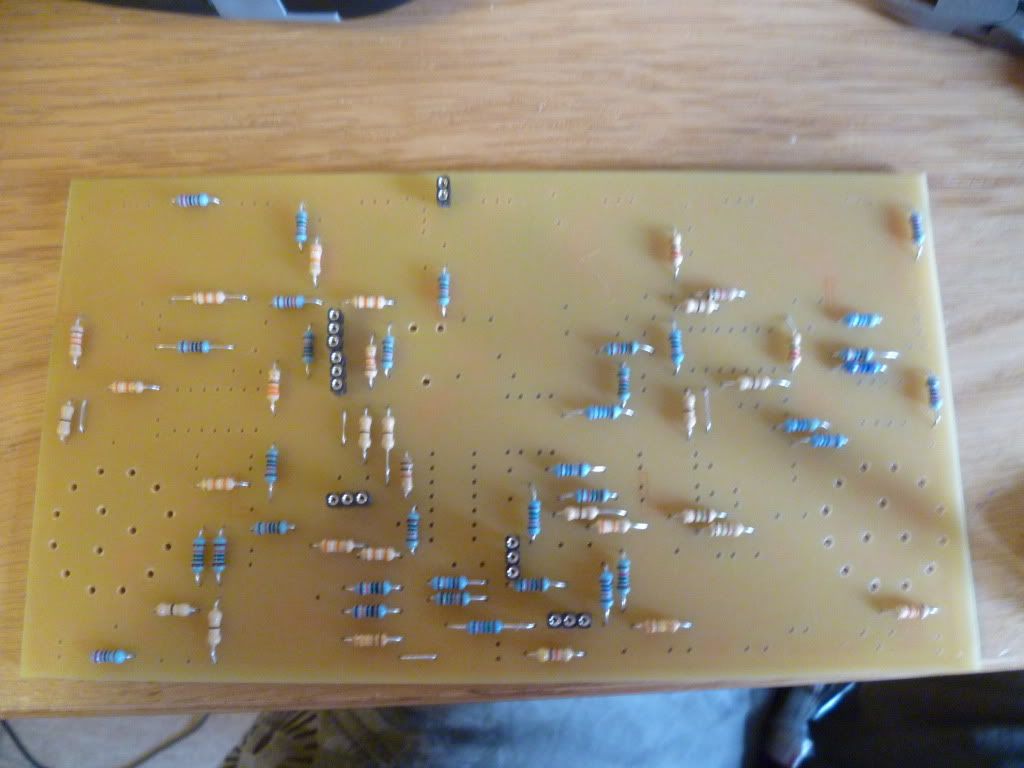
Adding some IC sockets caps and trimmers
You can see we went from working by daylight to needing a lamp on. I was keen to make the soldering as neat as possible so really took my time, given the up front investment in the project.
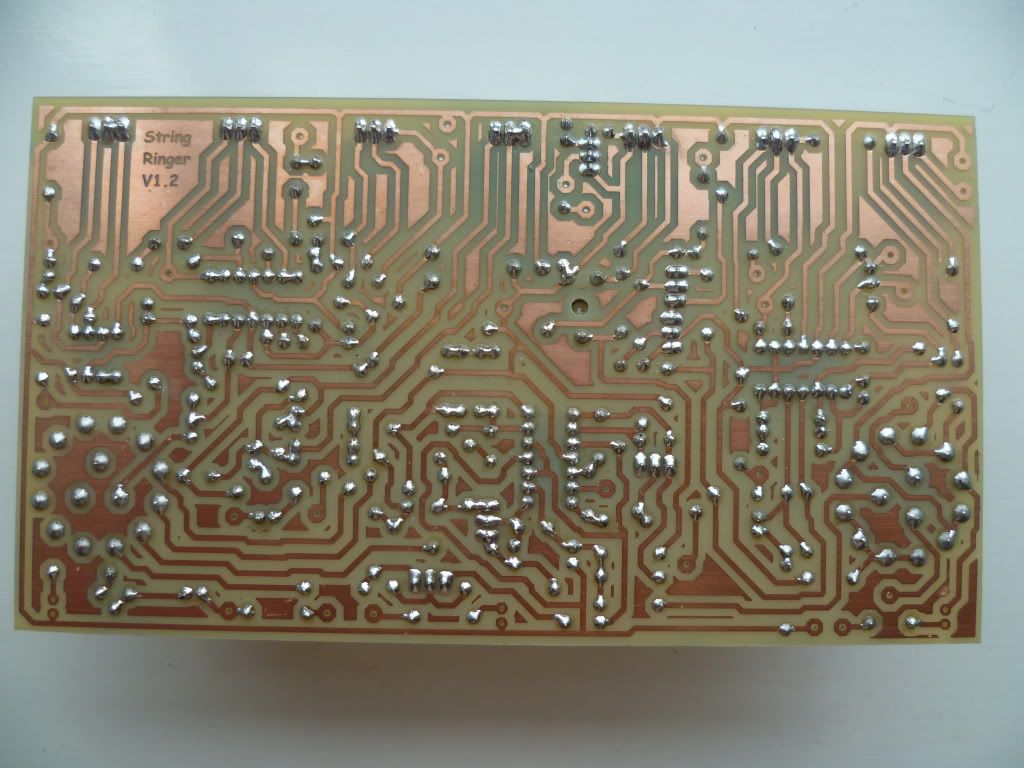
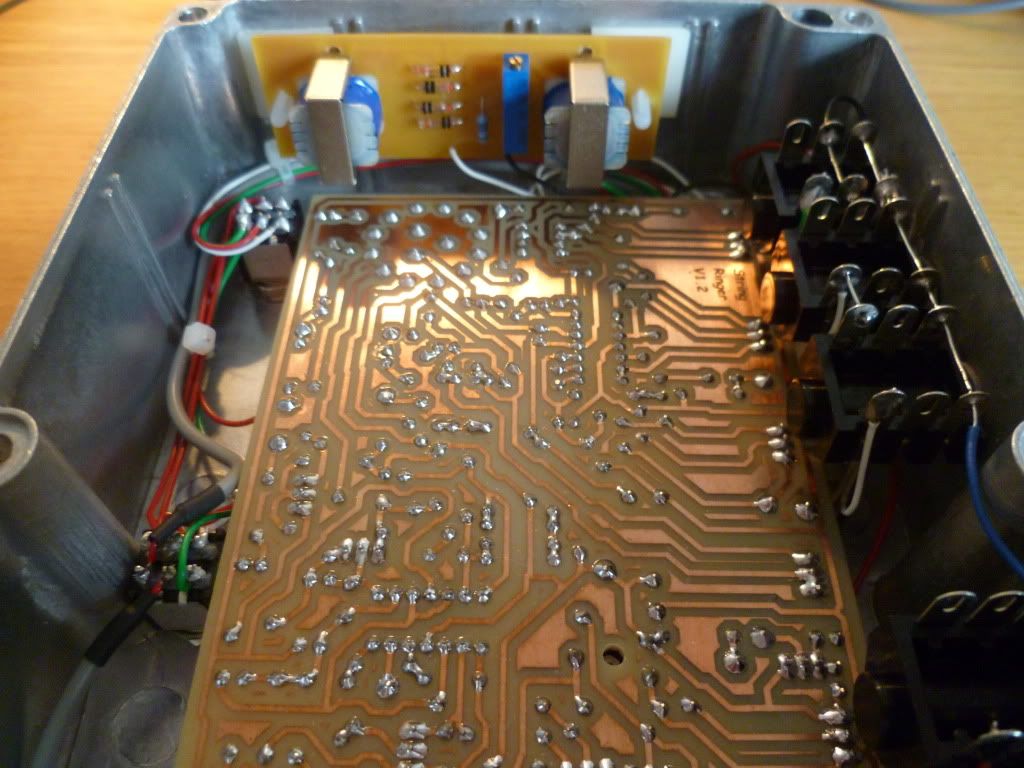
This next pic shows the fully populated main and daughter board

The daughter board consists of two LT-44 transformers, a resistor, trimmer and 4 matched germanium diodes. I matched them by forward voltage using a DMM. This is required to make the pedal sounds its best and minise carrier bleed. I bought 10 diodes and had one really good matched quartet, one good matched quartet, and a couple oddballs which will be used for other projects where matching isnt required. These peices are also quite expensive, added to the fact you need to buy in bigger numbers to get a set. Well worth the time effort and cash though I beleive.
Here is a nice pic of many fruitful hours with soldering iron in hand. I think its pretty neat if I do say so myself!
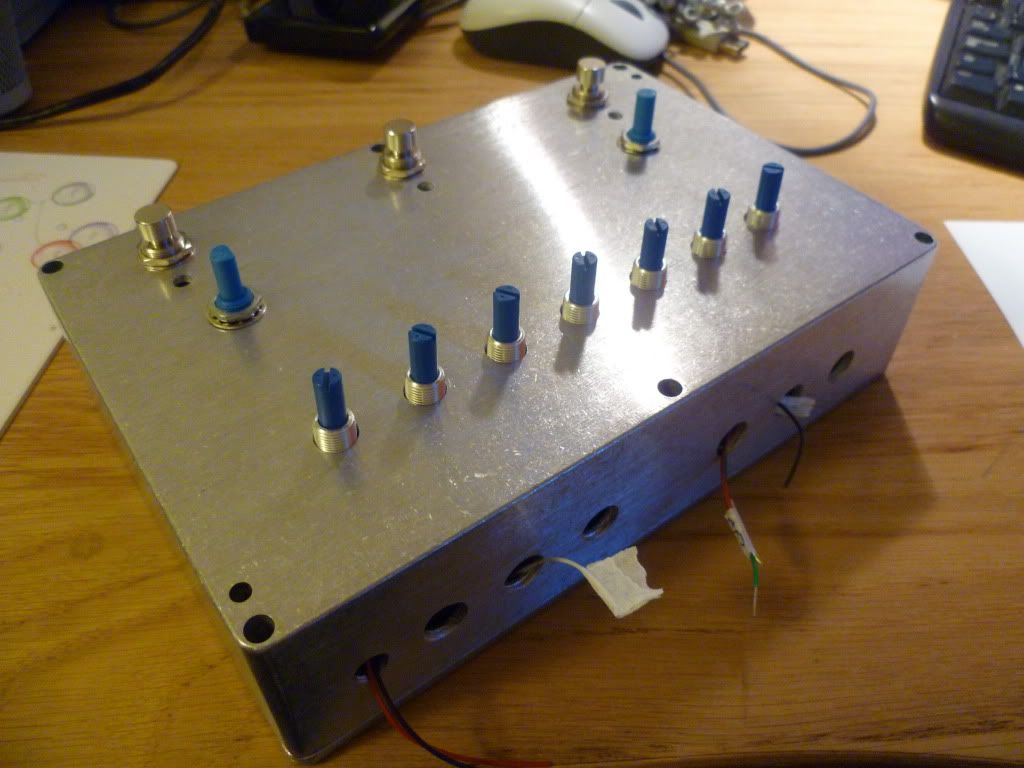
Onto the enclosure. This took a loooong time to source. Many good quality big enclosures out there. Sadly, none of them are big enough. This is a 220 x 145 x 50 box I ended up with. £13 from Rapid. Only negatives are its an IP65 box so has drilling mount holes in it. Wont be a problem when I get round to decal-isation :D
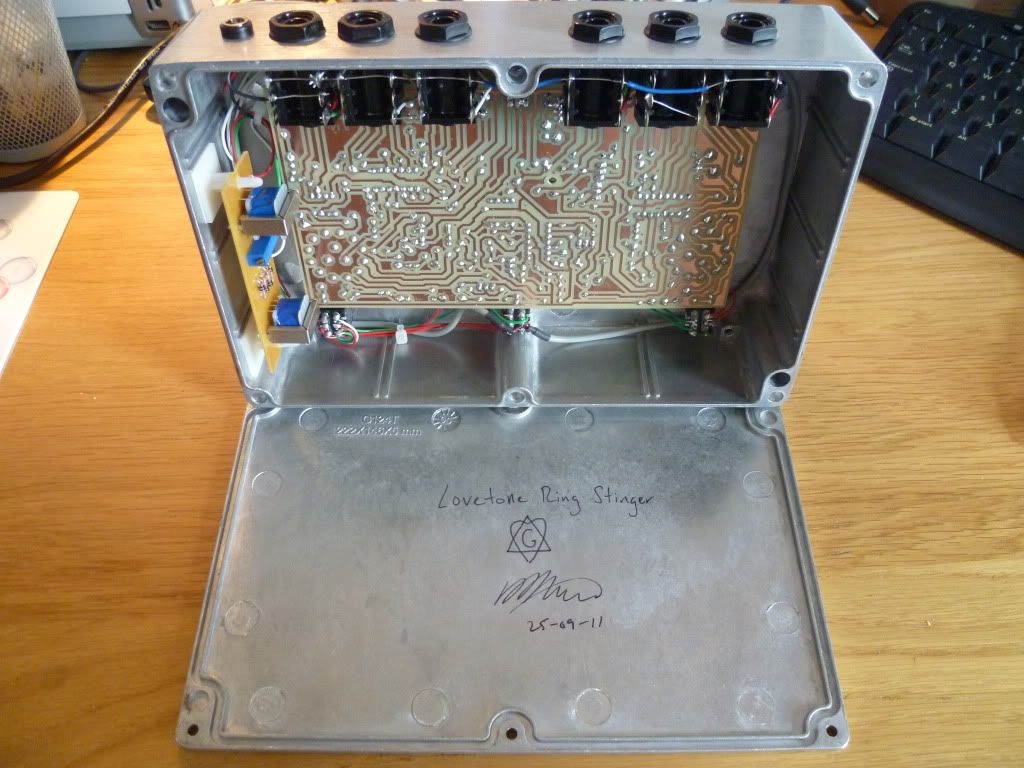
Here is a pic of the drilled enclosure, with most of the parts in, part way through wiring. I used Barrys best hookup wire for all non-shielded duties. Much better than single core for a project like this. When finished I cable tied everything in place. Having some flexibility in the wire really helps, and prevents worries of breakage when you need to be moving and fitting things in place as you go.
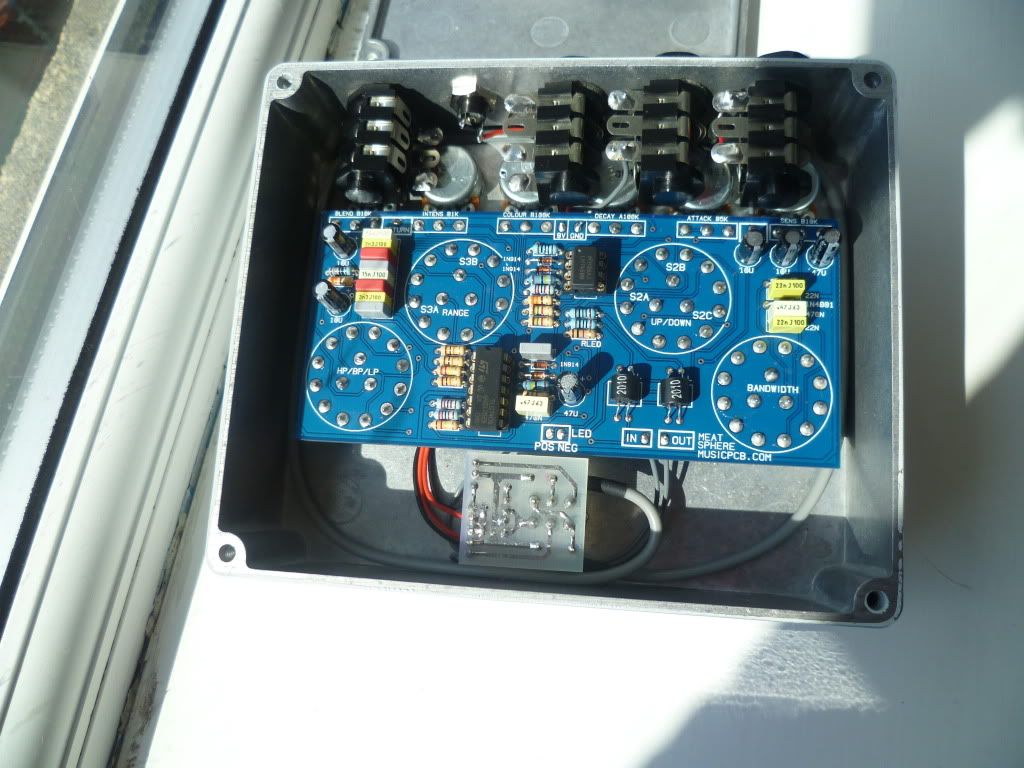
Next pic I took was at a state of completion of the internals, outside the box. Going from the stuffed PCBs to this point was a LOT of work and dedication. I kinda got in a zone and worked through it all in one sitting. Probably 6+ hours work. I didnt count. I just wanted to get it done. Even with on board pots and switches, this shows just how much wiring is involved, including some big jumpers on the board. NOT a trivial task by any stretch.

So nearing the final hurdle of a functioning Ring Stinger!
This is the "everything in" shot.
And internals. Daughter board is mounted on self adhesive nylon standoffs. Perfectly robust. Switches are Alpha DPDT, really nice reliable ones. Jacks are all Cliff UK switching jacks, as used in the real deal. Not cheap, but definitely nice examples.

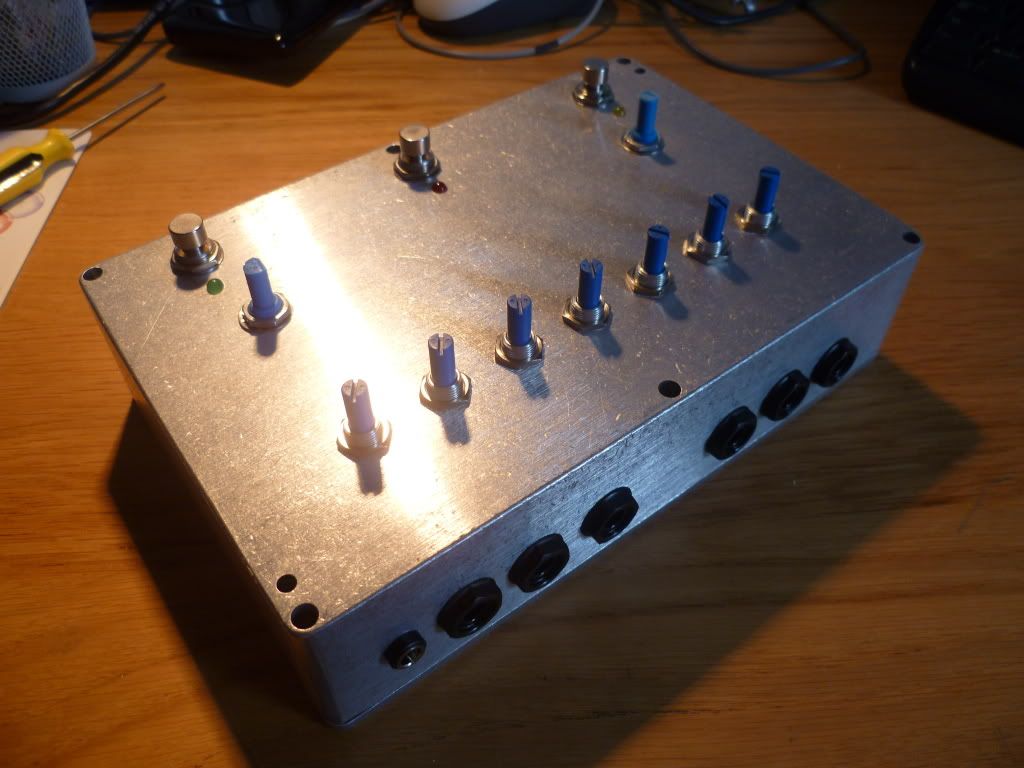
Detail shot:
Signed by yours truly
The nearly-finished article.
To do list: Decal, and get one more knob from Maplins. They only ever have a couple in stock, and I cba buying online with £3 postage. Ill get one next time Im up at the retail park where my local store is. Decal will likely be the Lovetone original like my Meatball. Im unashamed in doing so, as its for personal use, and I just plain like the Lovetone aesthetics.

Ive recorded a couple of videos. The first below is a teaser. Ill be back with a longer one when I have time to edit and upload it, towards the end of the week.
Longer demo now up!
Excuse me in general (playing, presentation, camera skills, sound)
Look forward to my next blog when I will be talking about my little venture (well, its pretty much just a brand name for now) www.gigahearts.co.uk for a taster, I'll be back with the full story.
This comment has been removed by the author.
ReplyDeletewow! :)
ReplyDeletethat's some fine looking work you've done there, you really need to change the title of the blog! lol..
also where did you get the 0ohm resistors?
ReplyDeleteBoth rapid and futurec do them. Shout if you want some I've got best part of 200....
ReplyDeleteHi been following your blog for awhile and really enjoy what you are doing. I've built fuzz factory, wooly mammoth and ofcourse a fuzz face. I also tried the green ringer/red llama pedal you showed here sounds great. I've since
ReplyDeletegot a pcb for the meat sphere and wanted to ask where you got your meatball artwork? I would like to do the same but mod it a tad for my pedal build.
Hi. Congrats on the pedal builds. For the meatball I mocked it up myself in ms paint. I'm not great at graphics, I'd recommend a better software. The font is Daytona. Good Luck!
ReplyDeleteThanks;Yeah, I'm definitely addicted to the pedal builds. It's funny because originally I wanted to build my own amp from a kit and I thought I would build some pedals to get used to looking at schematics and layouts and soldering etc...but now, at least for the time being, all I want to do is build pedals,especially the ones I wanted but couldn't afford. I didn't expect to
ReplyDeleteget the satisfaction out of it that I do. Guess the amp build will have to wait...well at least a few more months got an Electric Mistress and Aqua Puss in the queue.
Sorry to write a novel now I got to go find some bucket brigade chips! Take care and can't wait to see your next build